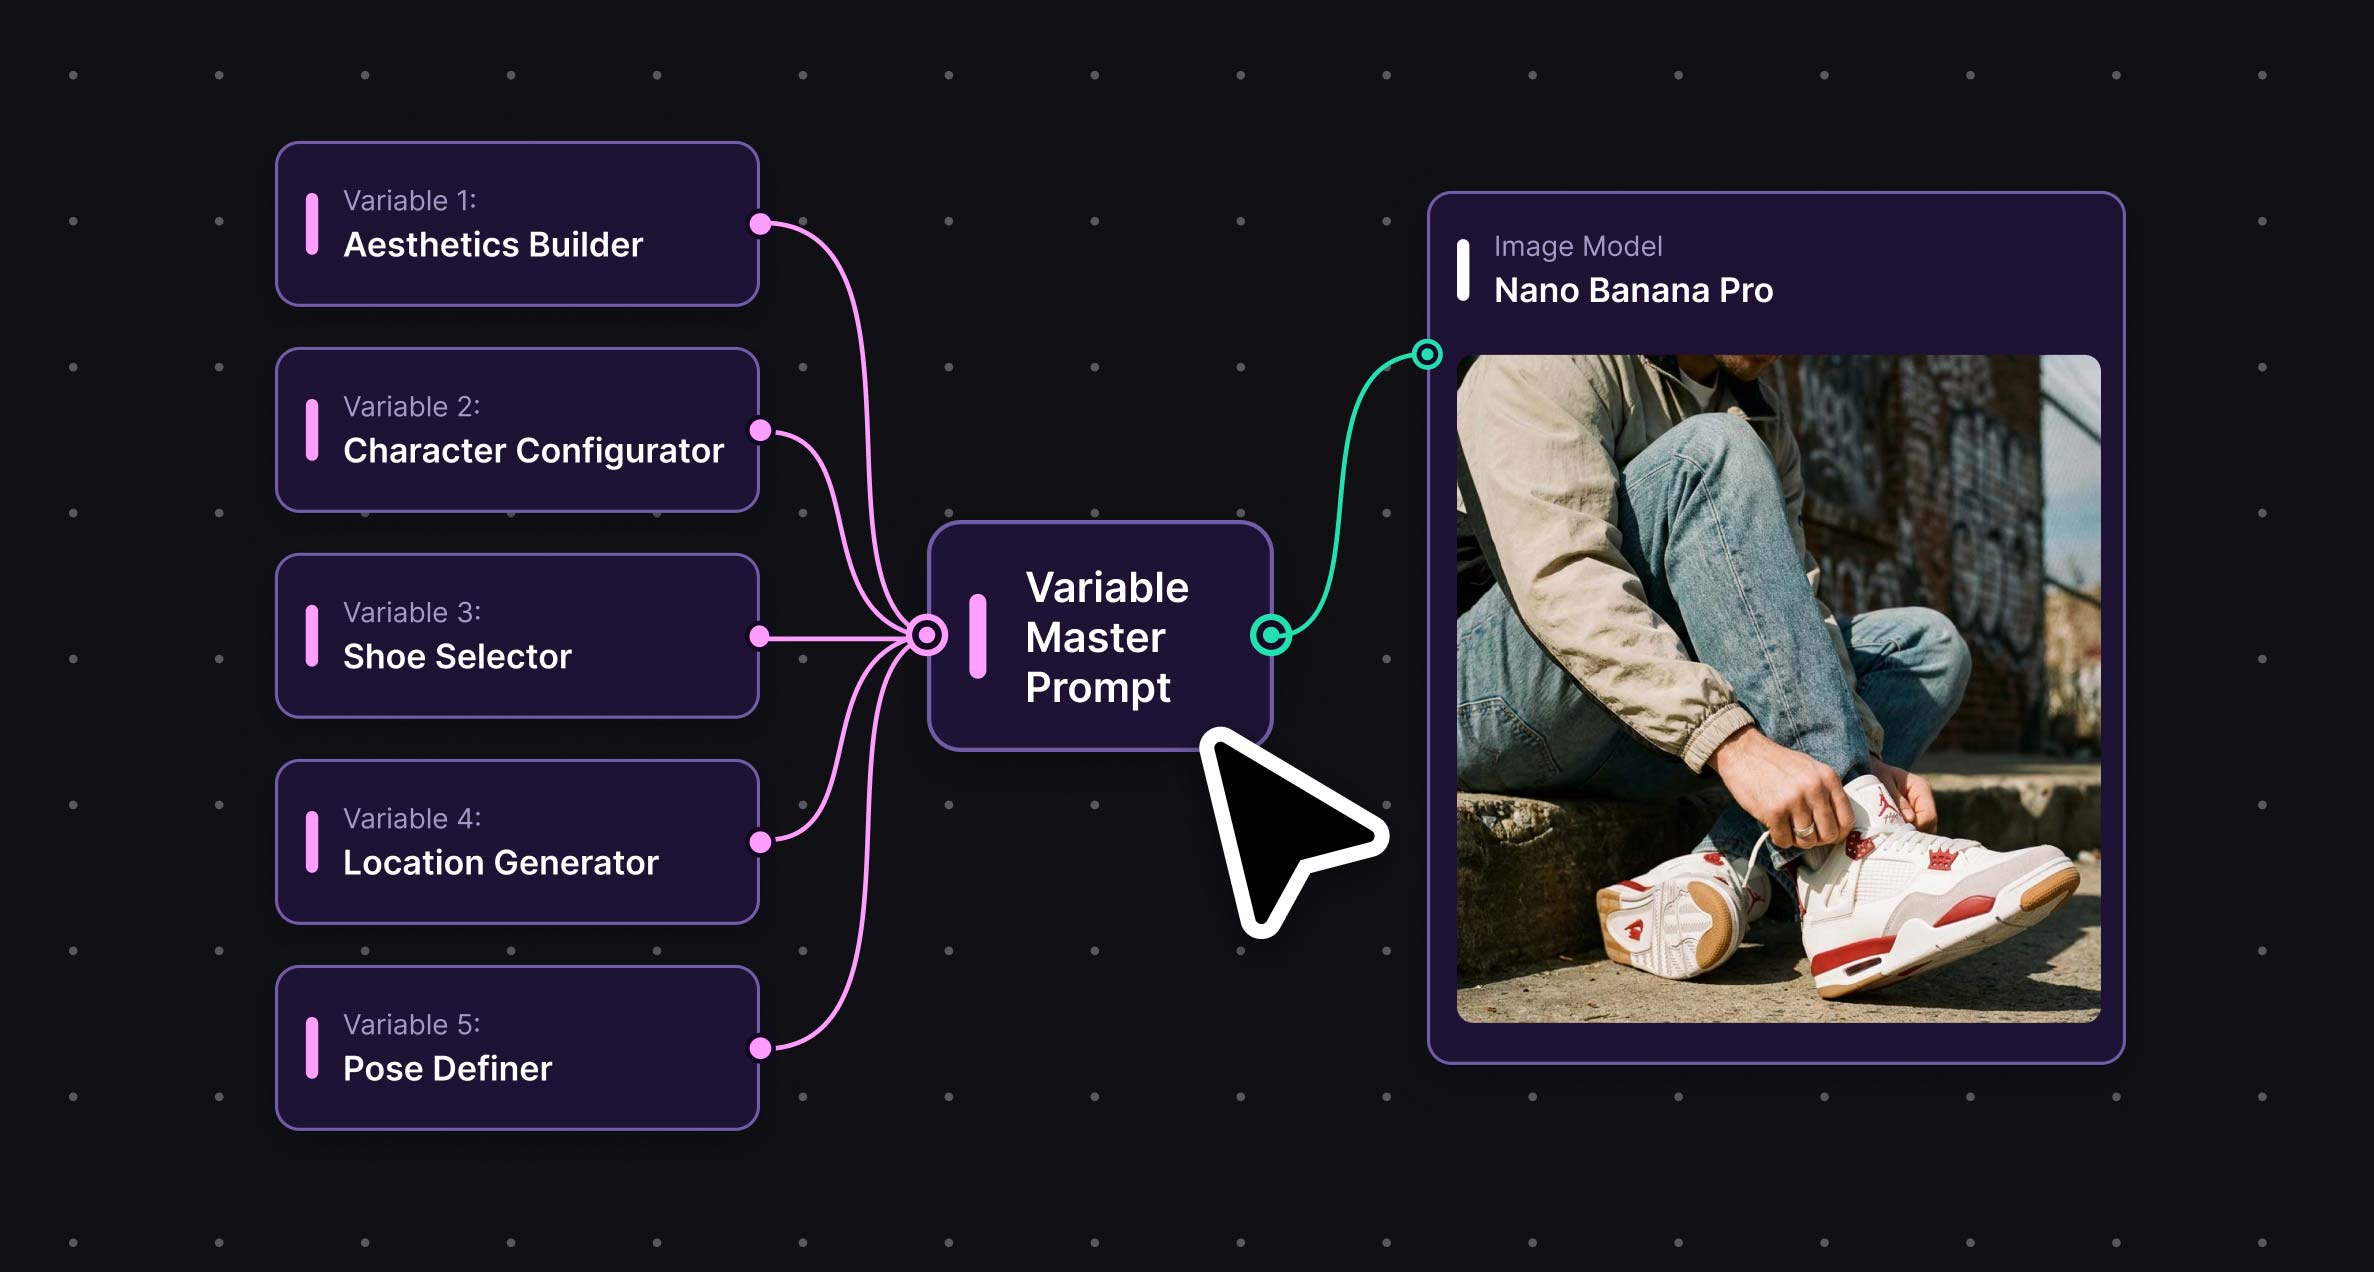
This workflow allows me to define variables that control the aesthetics, model characteristics, storytelling pose, sneaker model, and photoshoot location. By combining these variables, I can scale asset production, iterate faster, and generate virtually infinite combinations.
Originally created for the MYR Sneakers social ads campaign, the workflow can now be reused as a foundation for future projects. The idea is to adapt it to the specific needs of each campaign, adding new variables, refining existing ones, and continuously improving the system over time.
Next, I’ll walk through the step-by-step process of building and defining the five main variables that make up my Variable Master Prompt.
Breaking down the workflow, it could be divided into:
1. Aesthetics Builder
2. Character Configurator
3. Shoe Selector
4. Location Generator
5. Pose Definer
Final: Variable Master Prompt
1. Aesthetics Builder
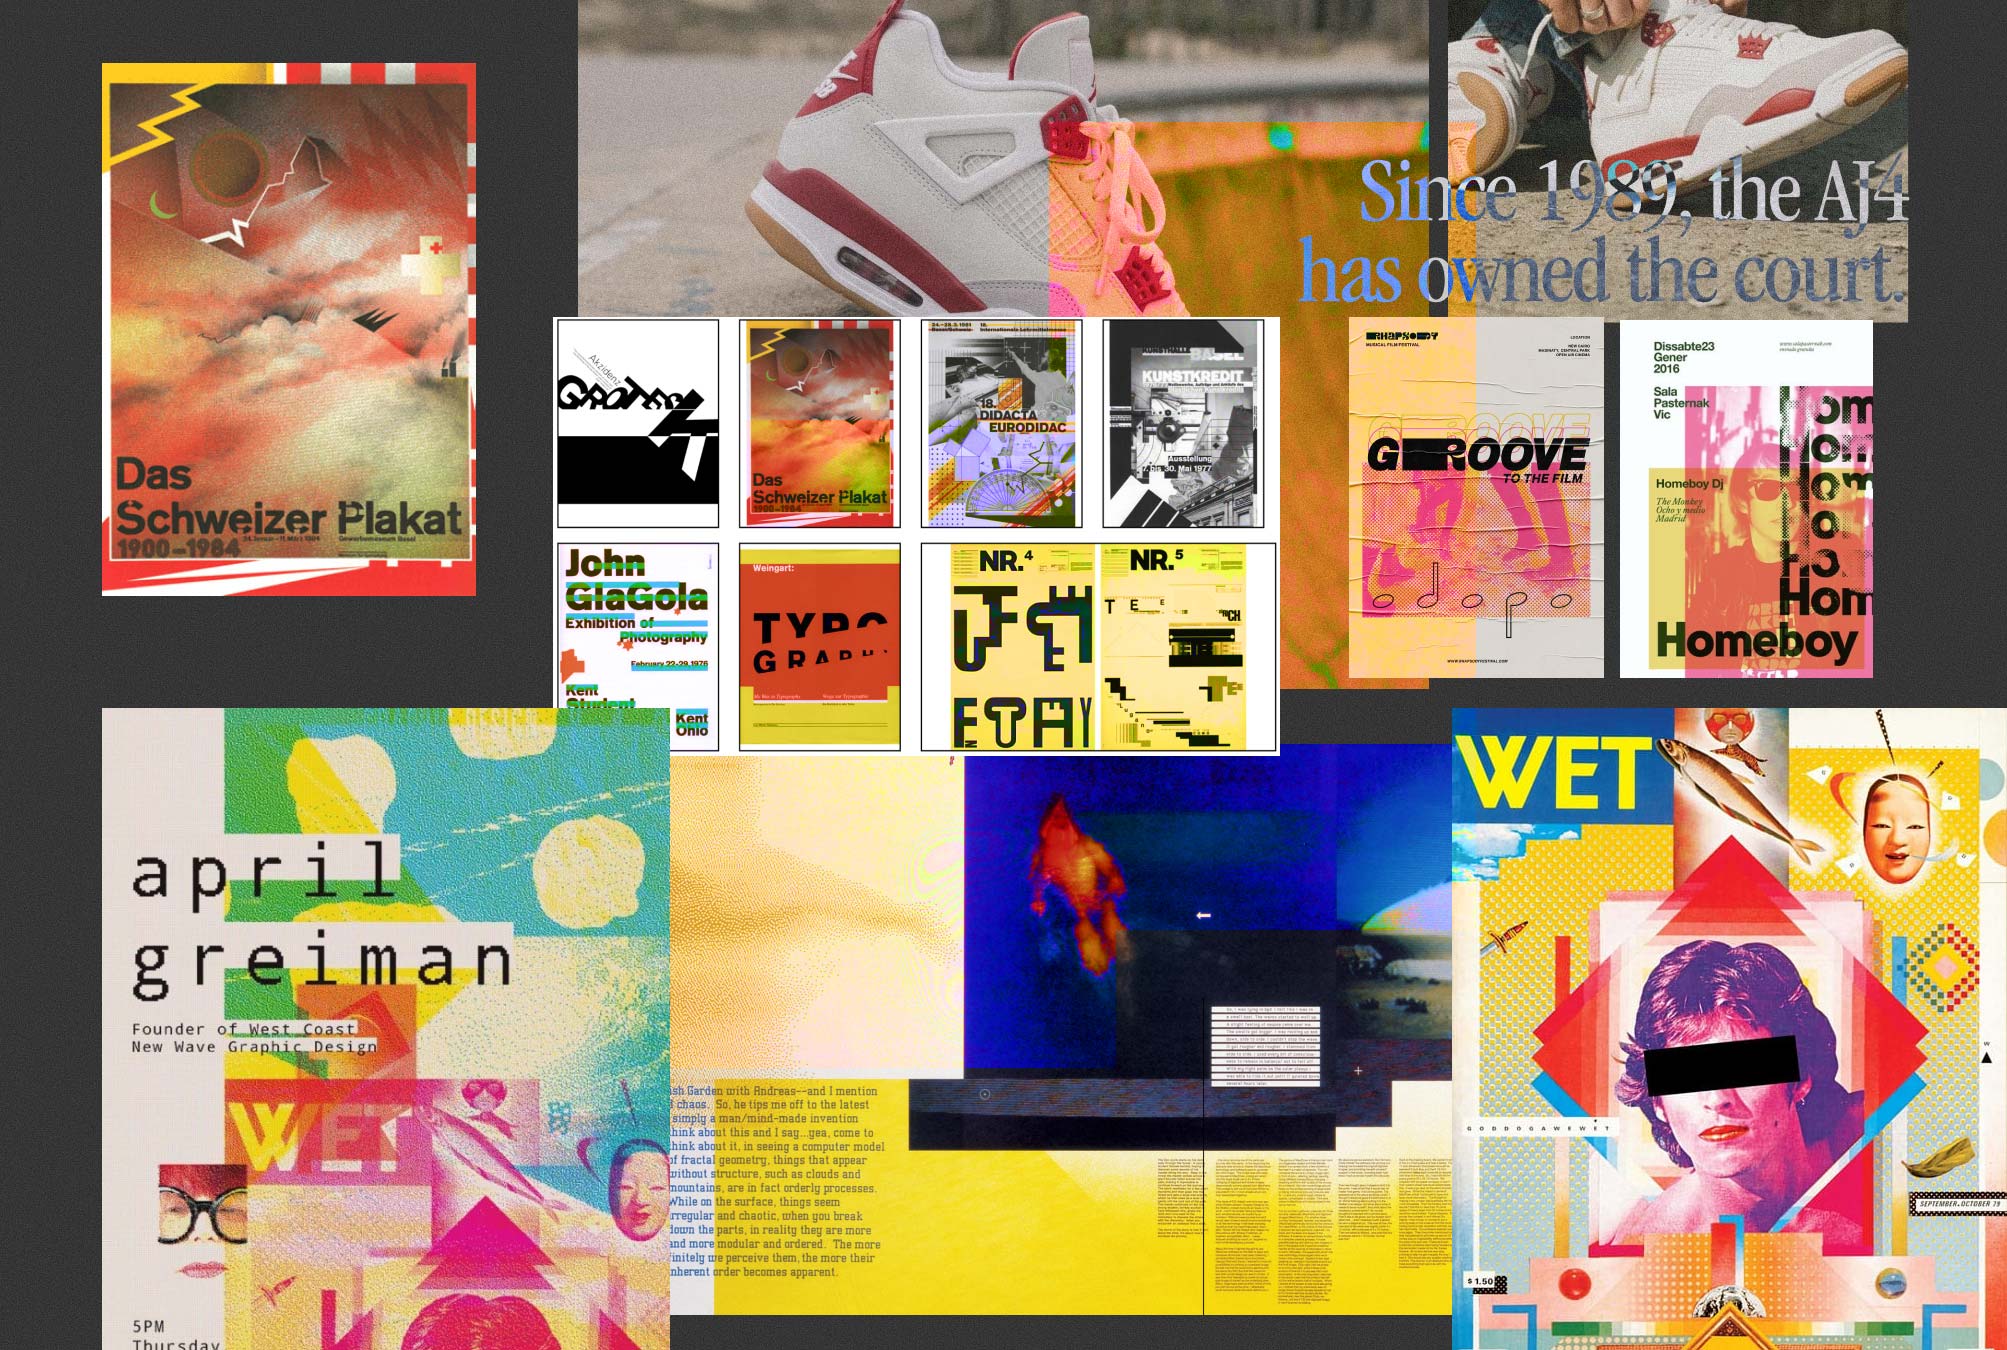
Arranqué mi búsqueda investigando sobre el modelo de sneakers. Aprendí que el modelo nació para consolidar la unión entre el baloncesto de alto rendimiento (línea Jordan) y la cultura del skate (Nike SB). El diseño de la zapa y toda la línea Air Jordan 4 Retro son uno de los pilares más importantes en la historia de la cultura urbana y el calzado deportivo. Diseñadas por el legendario Tinker Hatfield y lanzadas originalmente en 1989.
-
- ‘The Shot’: El legendario tiro de Michael Jordan sobre Craig Ehlo para ganar la serie de playoffs contra los Cleveland Cavaliers.
- Cultura Pop: Su aparición en la aclamada película de Spike Lee, Do the Right Thing.
Ok, vamos al año 1989 para ver cómo se veían las cosas:
(Me acordé también de la pelicula White Men Can’t Jump, que si bien es de 1992, comparte la linea estética que venimos viendo. Mi hermano Pablo es fanático de esta peli.)
Bien la parte Basketball de los 90 ya estaba definida. Faltaba integrar el concepto ‘skate’ y buscar un poco cómo se vestía la gente en los 90. El punto acá es que la moda de los años 90 vive un fuerte renacimiento en la actualidad. Se fusiona con el concepto de lujo silencioso, destacando prendas minimalistas, siluetas holgadas (oversize) y básicos atemporales que marcan el estilo urbano actual.
Tendencias clave de los 90 hoy:
Minimalismo y Slip Dresses: Colores neutros como el negro, blanco y gris.
Estilo Grunge relajado: Vaqueros rectos de tiro medio o alto en clave retro.
Perfecto basketball, skate, los 90 y la actualidad se fusionaban solos.
A proposito de Tinker Hatfield, super recomendado el episodio de Abstract dedicado a este famoso diseñador de sneakers. Me la recomendó Orly hace ya unos cuantos años.
Agrego ya que estoy Air: Courting a Legend, que está basada en hechos reales sobre el origen de Air Jordan, una línea de zapatillas de baloncesto, de la que Sonny Vaccaro, un empleado cazatalentos de Nike busca llegar a un acuerdo comercial con el jugador novato Michael Jordan. Muy buena. Me gustó.


2. Character Configurator
Moving on to the Character Configurator, which allows us to fully customize our model by selecting Gender, Age, Ethnicity, Body, Hair, Shirt, and Pants.
I decided to define these specific characteristics, but you can make the configurator as detailed as you want. You could define eye color, whether the character wears a watch or necklace, accessories, and much more. The possibilities are virtually endless.

Credits to the Hinge Health Image Generator, from which I adapted several descriptions, including Gender, Ethnicity, Body, Hair, and more.
To build this configurator, we essentially create a Text Array Node for each characteristic. For example, Gender is an Array containing the items Man and Woman. This Array node is then connected to a List Selector, allowing us to quickly switch between the available options.
Each List Selector — Gender, Age, Ethnicity, Body, Pants, Shirt, and Hair — is then grouped under our Variable 2: Character Configurator, which is connected to our Variable Master Prompt.
3. Shoe Selector
Now that we have our campaign aesthetics and the engine for generating our models, we can move on to the Shoe Selector. This module could easily be part of the model description, but since my workflow was originally built for a sneaker campaign, I wanted to keep this module detailed and separate from the rest.
There’s nothing new here in terms of how we build it. We simply upload an image of the sneaker and — just like we did in Step 1 — connect it to an LLM whose prompt is designed to describe the shoe.
Then, to make the workflow scalable for the future, when we add more models, we connect this node to an Array and then to a Selector. This gives us our Variable 3: Shoe Selector, which is then connected to… guess where? Yep, you got it — our Variable Master Prompt.

4. Location Picker
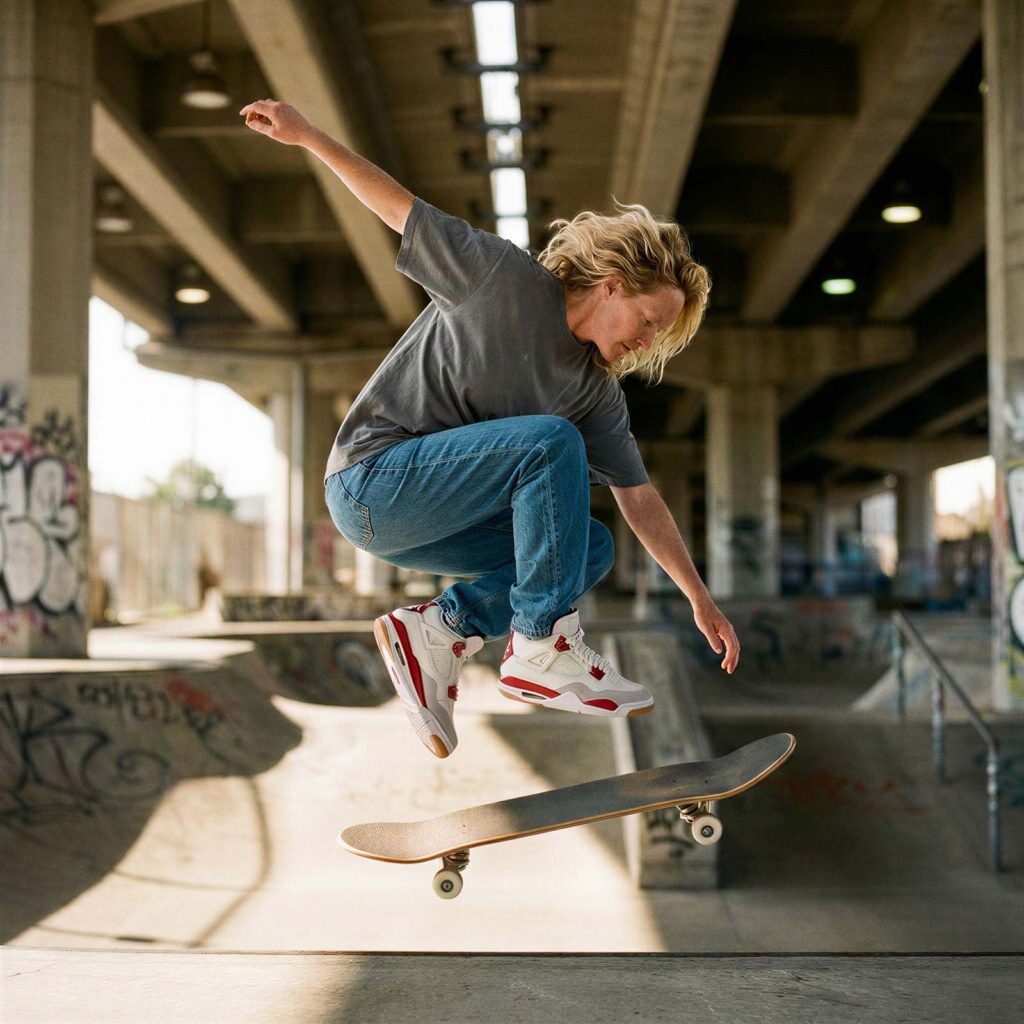
For this step, I decided to keep things simple by describing the location, and it actually gave me great results. For example, I used “Concrete skatepark with bowls and ledges”, and the location was represented pretty much exactly as I had envisioned it.
Of course, at this stage, if we wanted full control over the location, we could also use the image description process we used to define the visual aesthetic or to describe the shoes. We could even define an entire set of variables dedicated only for the location. The key is that everyone can expand the workflow and add as much detail as they consider relevant to their own campaign.
Ok, returning to our flow, the Location Picker outputs an Array containing all the items we define. We then connect it to a List node, which defines our Variable 4: Location Selector. And we leave it floating around. No, kidding!, this one is also connected to our Variable Master Prompt.

5. Pose Definer
Now we reach the Pose Definer, which for me is one of the key components of this flow. This is the point where we start directing our model and translating the concept of our photographic shot. This is when our subject tells the story.
As we’ve been doing throughout the workflow, we upload a reference image, a selfie or a sketch on a napkin and connect it to an LLM node together with a prompt such as:
Analyze the provided image and extract ONLY the model’s pose. Do NOT: describe visual style, describe model clothes, describe model shoes, model skin tone, model gender.
Produce a clean, standalone description that can be used to generate new images in the same model position but with an entirely new aesthetic.
The goal here is to separate the pose from everything else happening in the reference image. We don’t want the LLM to carry over any visual characteristics from the reference — only the position, body orientation, gesture, and overall composition of the model.
This gives us a clean pose description that can later be combined with our previously defined aesthetic, model, shoes, and location, giving us much more control over the final shot.

If you’ve made it this far, you already know that Variable 5: Pose is, of course, connected to our Variable Prompt Master.
Final: Variable Master Prompt
Finally! This guy has been talking about variables throughout the entire case. We’ve made it to the node where all the other nodes converge. The final node. The chosen one. We’ve reached the Variable Prompt Master.
So, to recap, here are all the characteristics we generated for each of our variables throughout the workflow:
- Variable 1: Aesthetics Builder
- Variable 2: Character Description
- Variable 3: Shoe Description
- Variable 4: Location Generator
- Variable 5: Pose Definer
This is where everything we’ve built throughout the workflow finally comes together. Each variable brings a specific piece of information to the final prompt, giving us control over every key aspect of the shot while keeping the whole system modular and easy to iterate.
The final step is to put our Variable Master Prompt into action and see what happens. We connect it to an image model, in my case I used Gemini 3 (Nano Banana Pro) which gave me very good results at a cost of 11 credits per “shoot.”

In addition to our variables, the prompt is completed with general instructions. For example, we tell the model to act as a professional photographer with 20 years of experience, along with other guidelines that help define the overall output.
By combining all five variables, we end up with a highly configurable and scalable flow that can be adapted to different AI-generated photography productions depending on what we need.
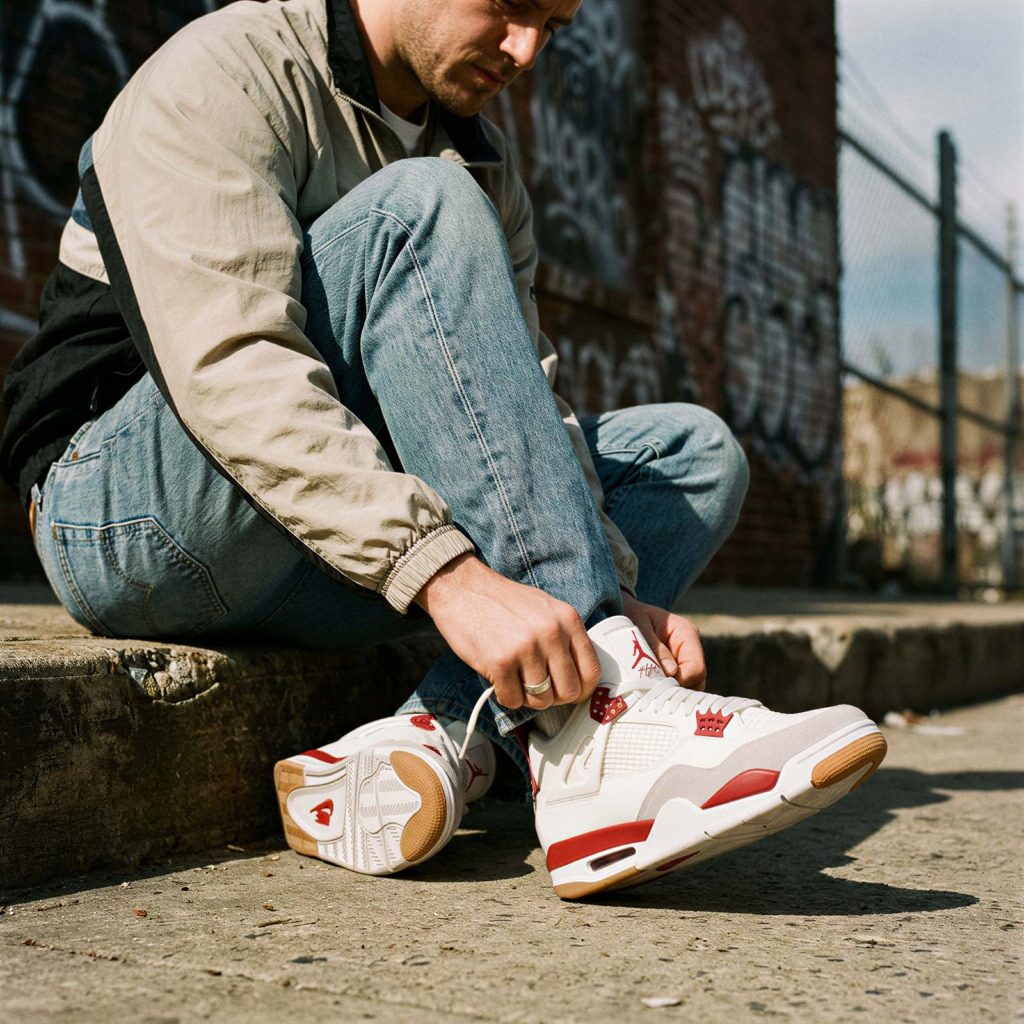
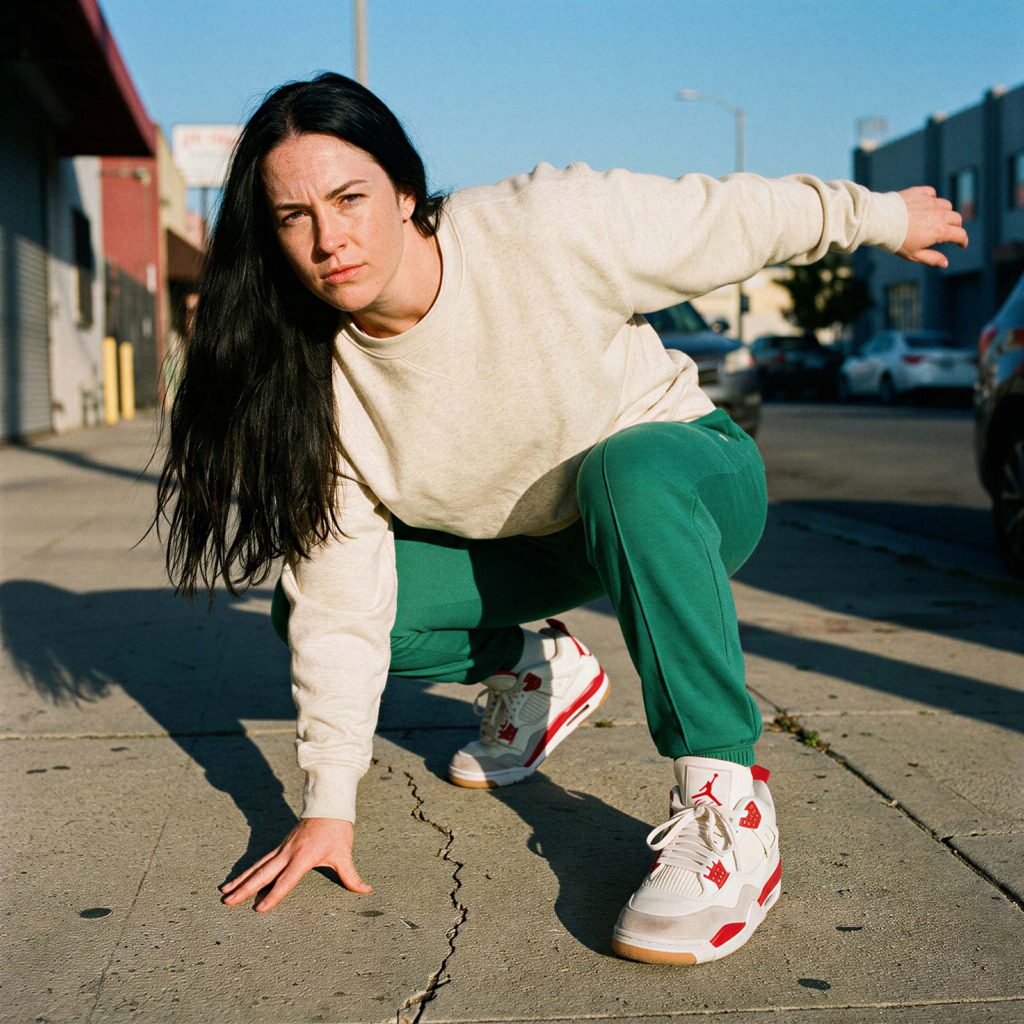
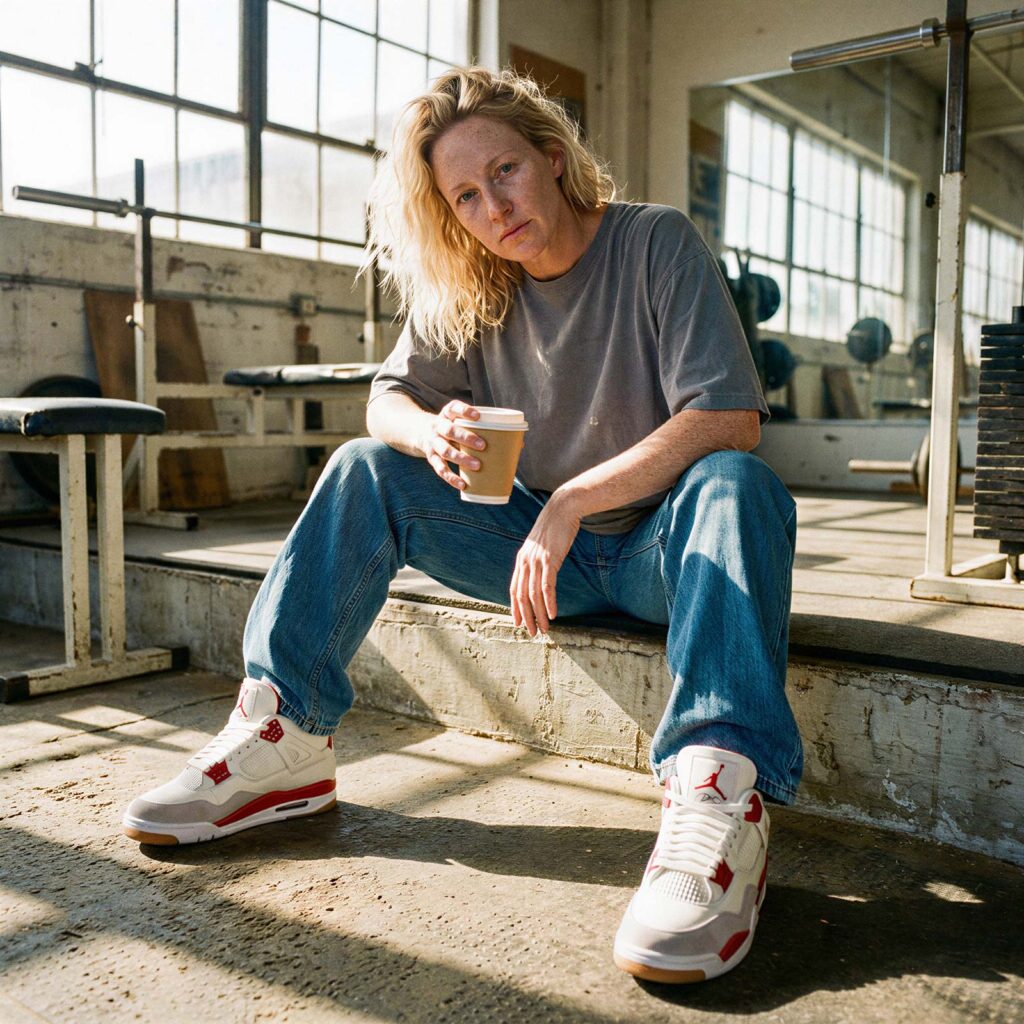
Here are some of the shots I generated for my sneaker campaign:
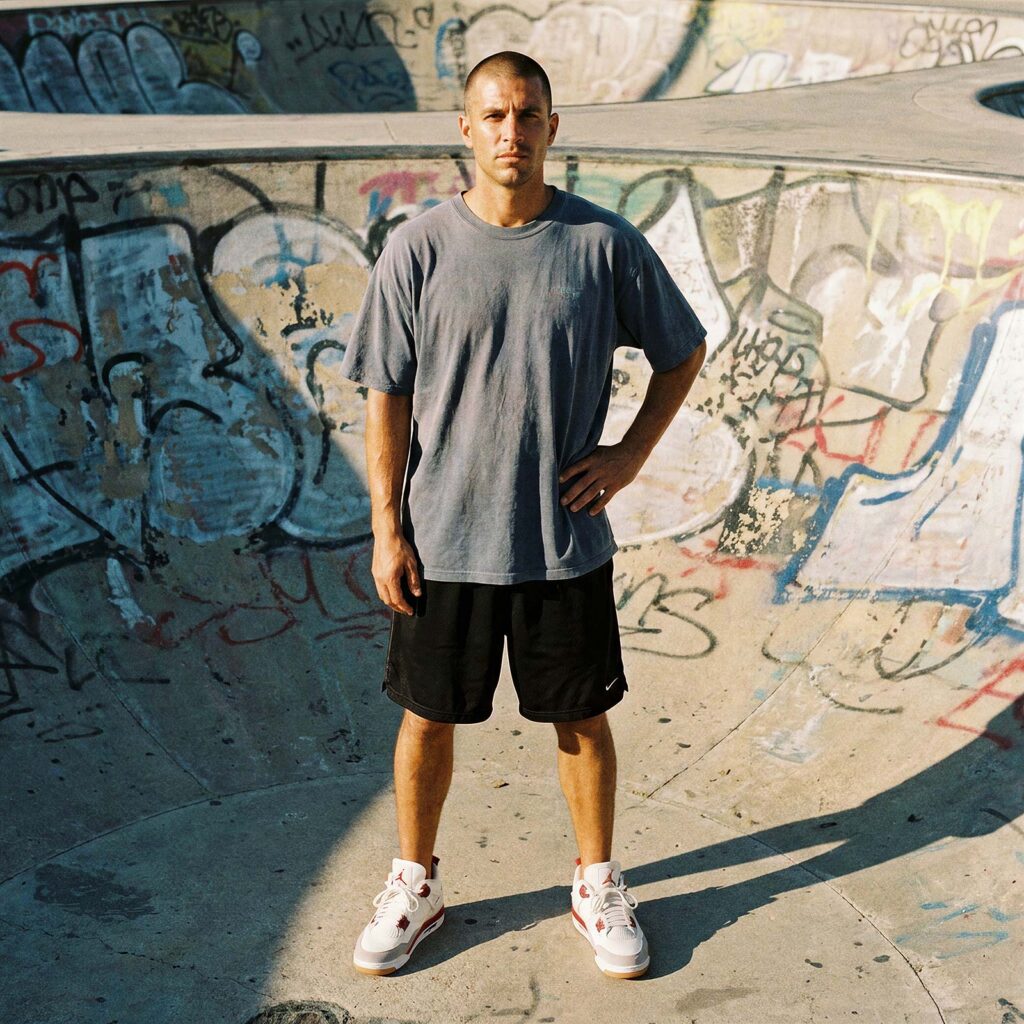
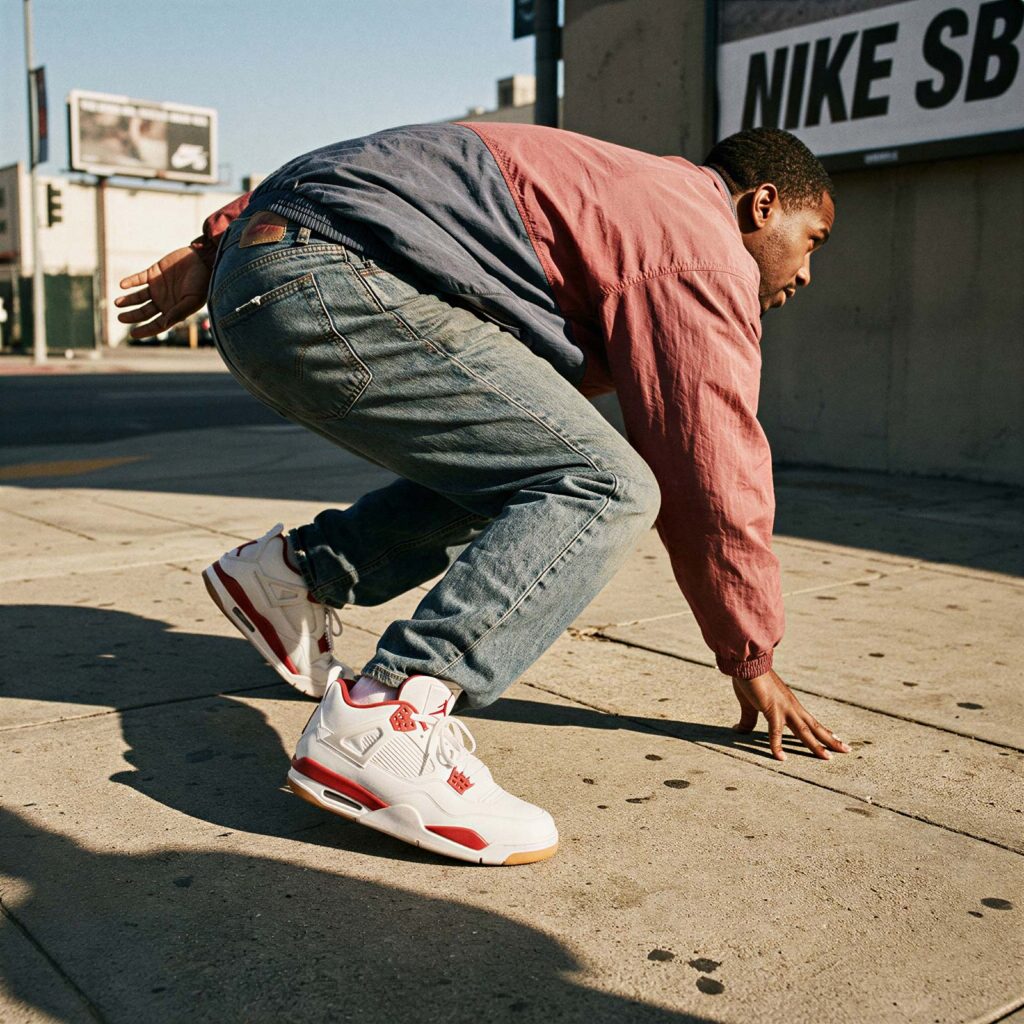
And here’s a test example showing the five defined variables and the resulting output:

*The pose was inspired by Marcelo “Matador” Salas playing for River Plate, featuring his iconic goal celebration.
Conclusions
Workflow Cost in Credits
The reality is that the credit cost throughout the workflow is extremely low. The LLMs responsible for describing the characteristics of our variables cost 1 credit each. Basically nothing. So the only significant cost comes from the image generation itself: 11 credits per image when using Nano Banana Pro — which is still very affordable.
Of course, there’s another factor that depends entirely on how well you ‘feed’ and define each variable. If, for example, you don’t do a good job defining the visual aesthetic of your campaign and simply throw in a few random reference images, the final results probably won’t be the best.
And that’s when you’ll start wasting credits on unnecessary iterations. But if you take the time to properly define each variable, this workflow becomes practically free — especially considering the level of control, flexibility, and scalability it gives you.
Work Time Breakdown:
This one is a little harder to quantify, because the time investment will vary depending on whether you’re building the workflow from scratch, as we did throughout this case, or simply using an already-built workflow. Let’s assume the flow is already built and ready to be reused and scaled across different photography productions.
In that case, I’d say the two stages where you’ll invest the most time are Aesthetics Builder and Pose Definer.
Aesthetics Builder, because if you want to do things properly, you need to establish the visual direction of your campaign. You’ll need to provide visual references that help consolidate concepts such as art direction, contrast, style and color, shading and lighting approach, mood, and visual tone, among others.
You’ll also need to spend a fair amount of time on the Pose Definer. Why? Because this is where you direct the subject that tells the story of the shoot. It might not make much of a difference whether the model is wearing the Air Jordan Retro 4 or the Air Jordan Retro 3 — well, maybe it does if you’re a sneakers fan — but it will completely change the concept if the model is skateboarding or lying down taking a nap.
But dude, this is called Work Time Breakdown and you haven’t told me how long it takes. And no, I haven’t. Your time will ultimately be defined by the deadline your client gives you. Relax.
Final Takeaways:
I asked AI whether AI itself can replace a professional photography production. The answer was:
Yes, artificial intelligence can replace a photography production for many commercial and low-cost tasks, such as e-commerce catalogs, advertising backgrounds, and product mockups. However, it cannot completely replace it when real product fidelity, genuine human experiences, or the capture of spontaneous moments are required.
I can imagine some photographers looking at the breakdown of my workflow and horrifying themselves. And honestly, they might have a point. I’m probably leaving 500,000 variables up to chance compared to what happens in a professional photography shoot.
But that’s also the point: I’m an art director, and a photographer is a photographer. My job is to design and unify the overall visual concept — the scenarios, objects, aesthetic, and visual language of the project.
The photographer, on the other hand, is responsible for bringing that shot to life, applying their knowledge of camera operation, composition, framing, lighting, shadows, lenses, and all the technical and artistic decisions that come with producing a real photograph. In that sense, a professional photographer will undoubtedly be able to define and control many more aspects of the actual shot than I can through this workflow, leaving far fewer variables to chance.
So, can an AI photography production speed up my work and save my client money? Yes. Are the results on the same level as a real professional photography production? No.
And I think that’s ultimately the most important takeaway. AI-generated photography is another tool in the creative toolbox. The value lies in knowing when it makes sense to use it, when it doesn’t, and what compromises you’re willing to make depending on the project, the budget, and the final objective.
Each of us will have to decide when — and when not — to use a workflow like this to generate AI photography for advertising campaigns.