1. The Problem — Or the Opportunity?
2. Defining the Campaign’s Aesthetic & Concept
3. Implementing the AI Workflow
4.1 Assets Design: Instagram
4.2 Assets Design: Video
5. Feedback & Revisions
6. Metrics & Impact
7. Results & Learnings
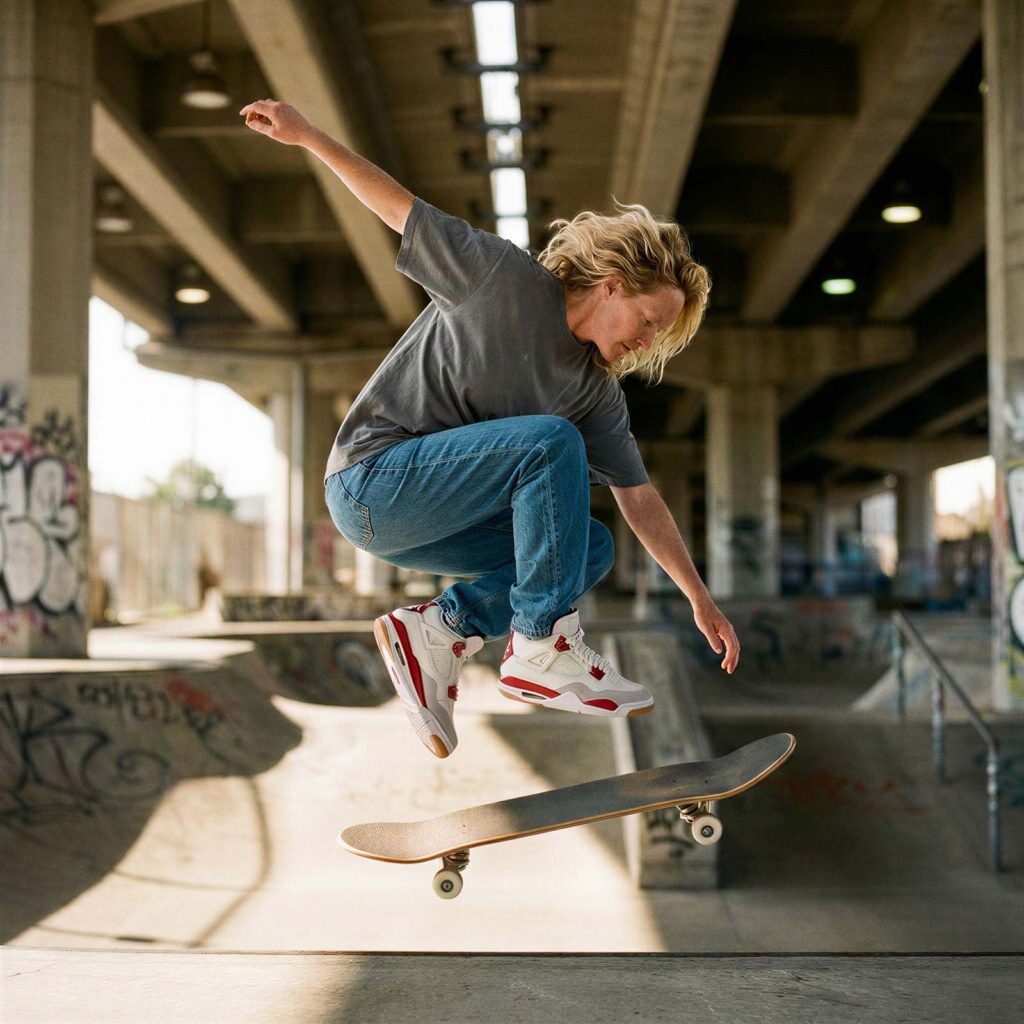
MYR is a company based in Buenos Aires, Argentina with more than 15 years of experience specialized in the sale of imported sneakers sourced directly from factories. They genuinely love sneakers so they dedicate their efforts and vision to bring their customers exclusive sneaker models that had never been—and likely never would be—available locally.
Client: MYR Sneakers
Year: 2026
Type: Social Ads Campaign
Art Direction: Xavi Beltrán
Photo and video: AI generated directed by Xavi Beltrán
Models: AI generated
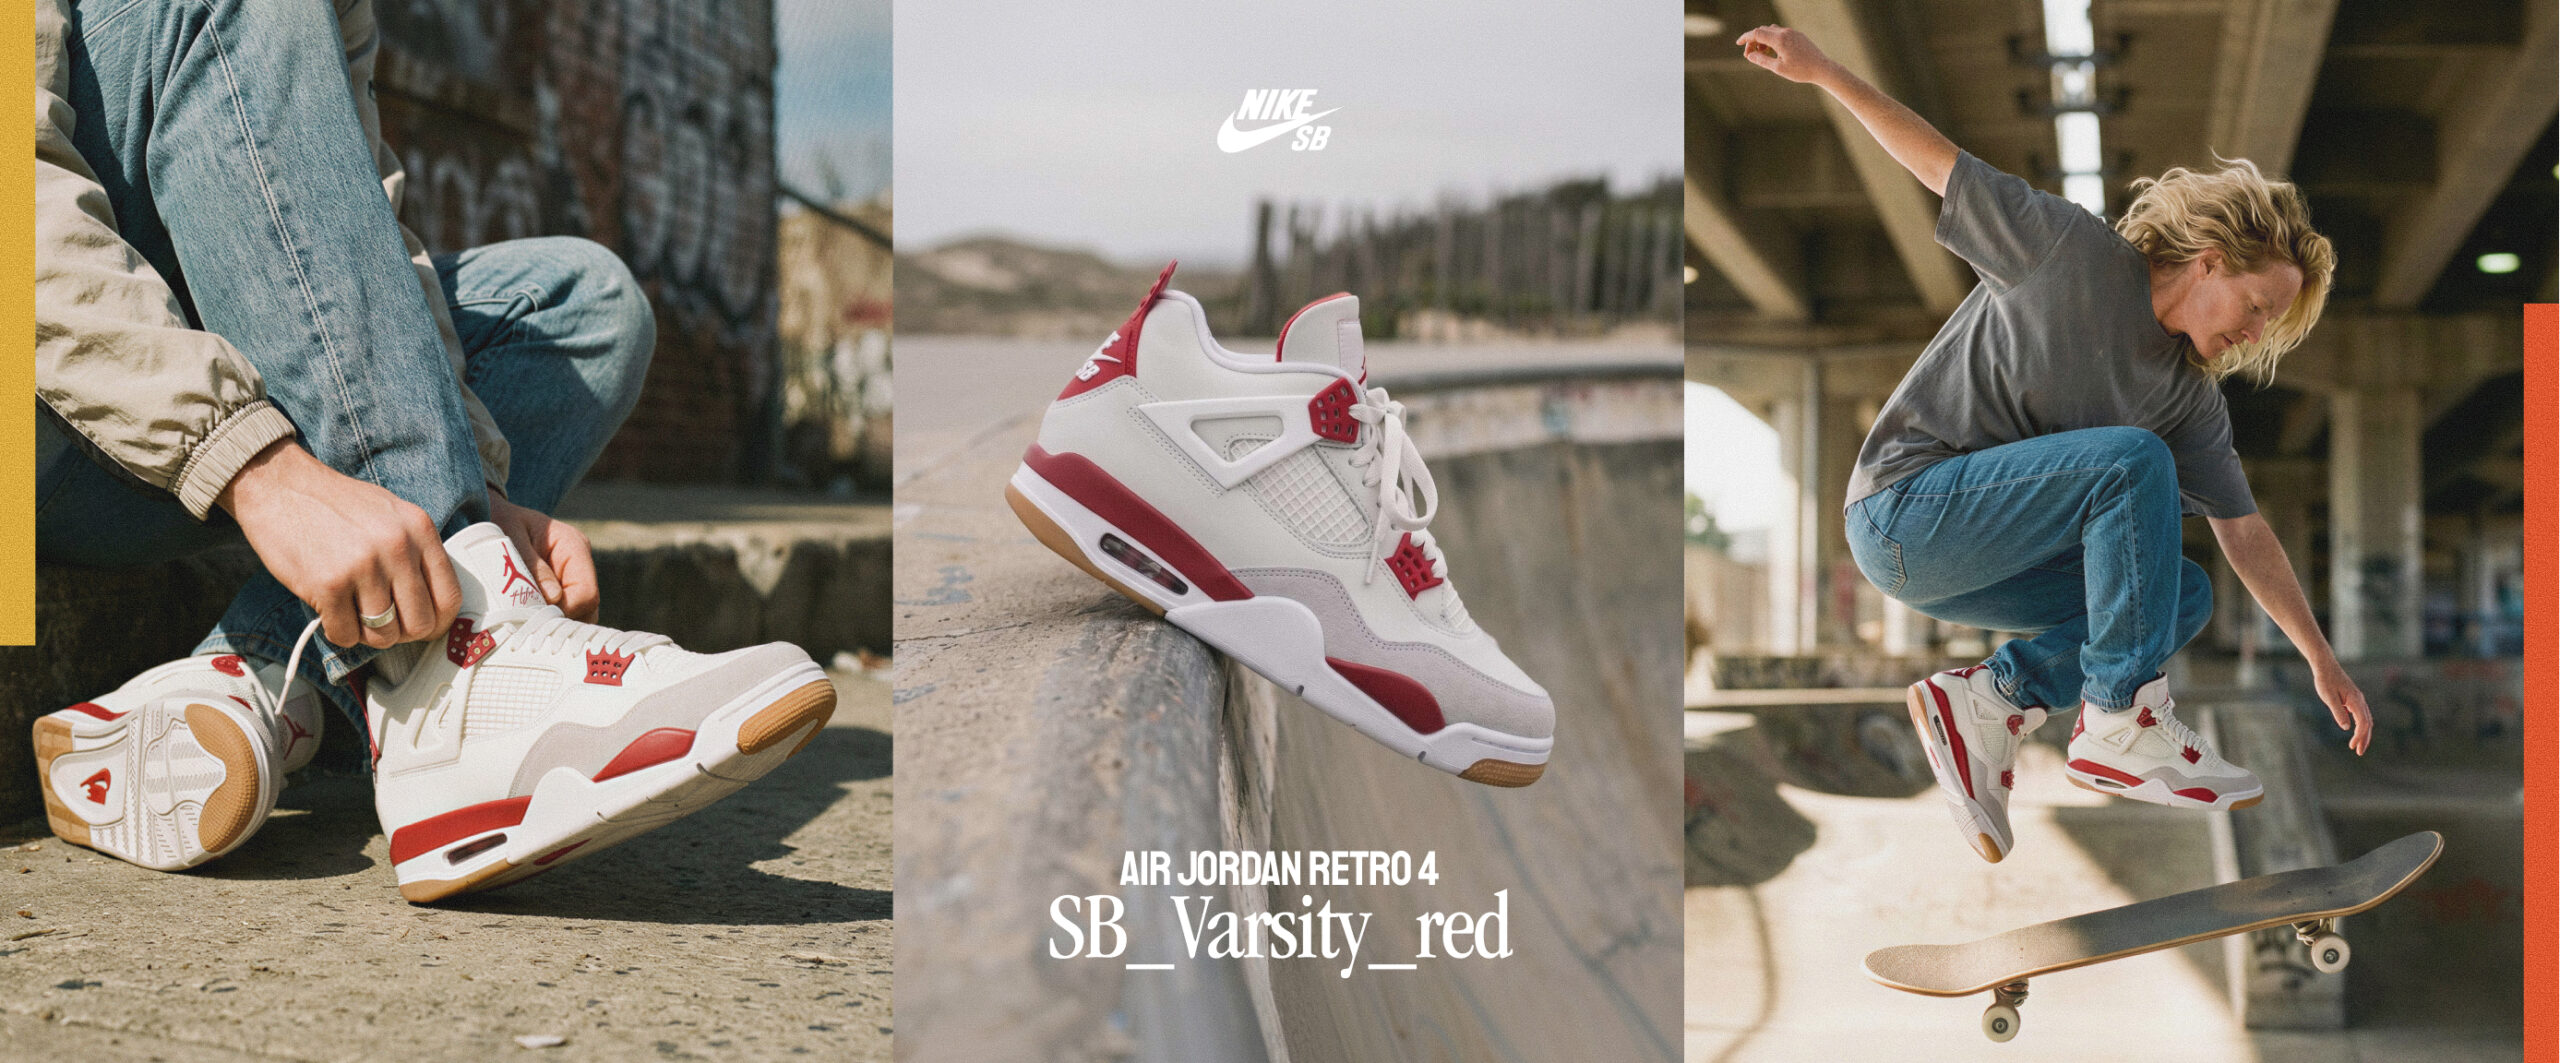
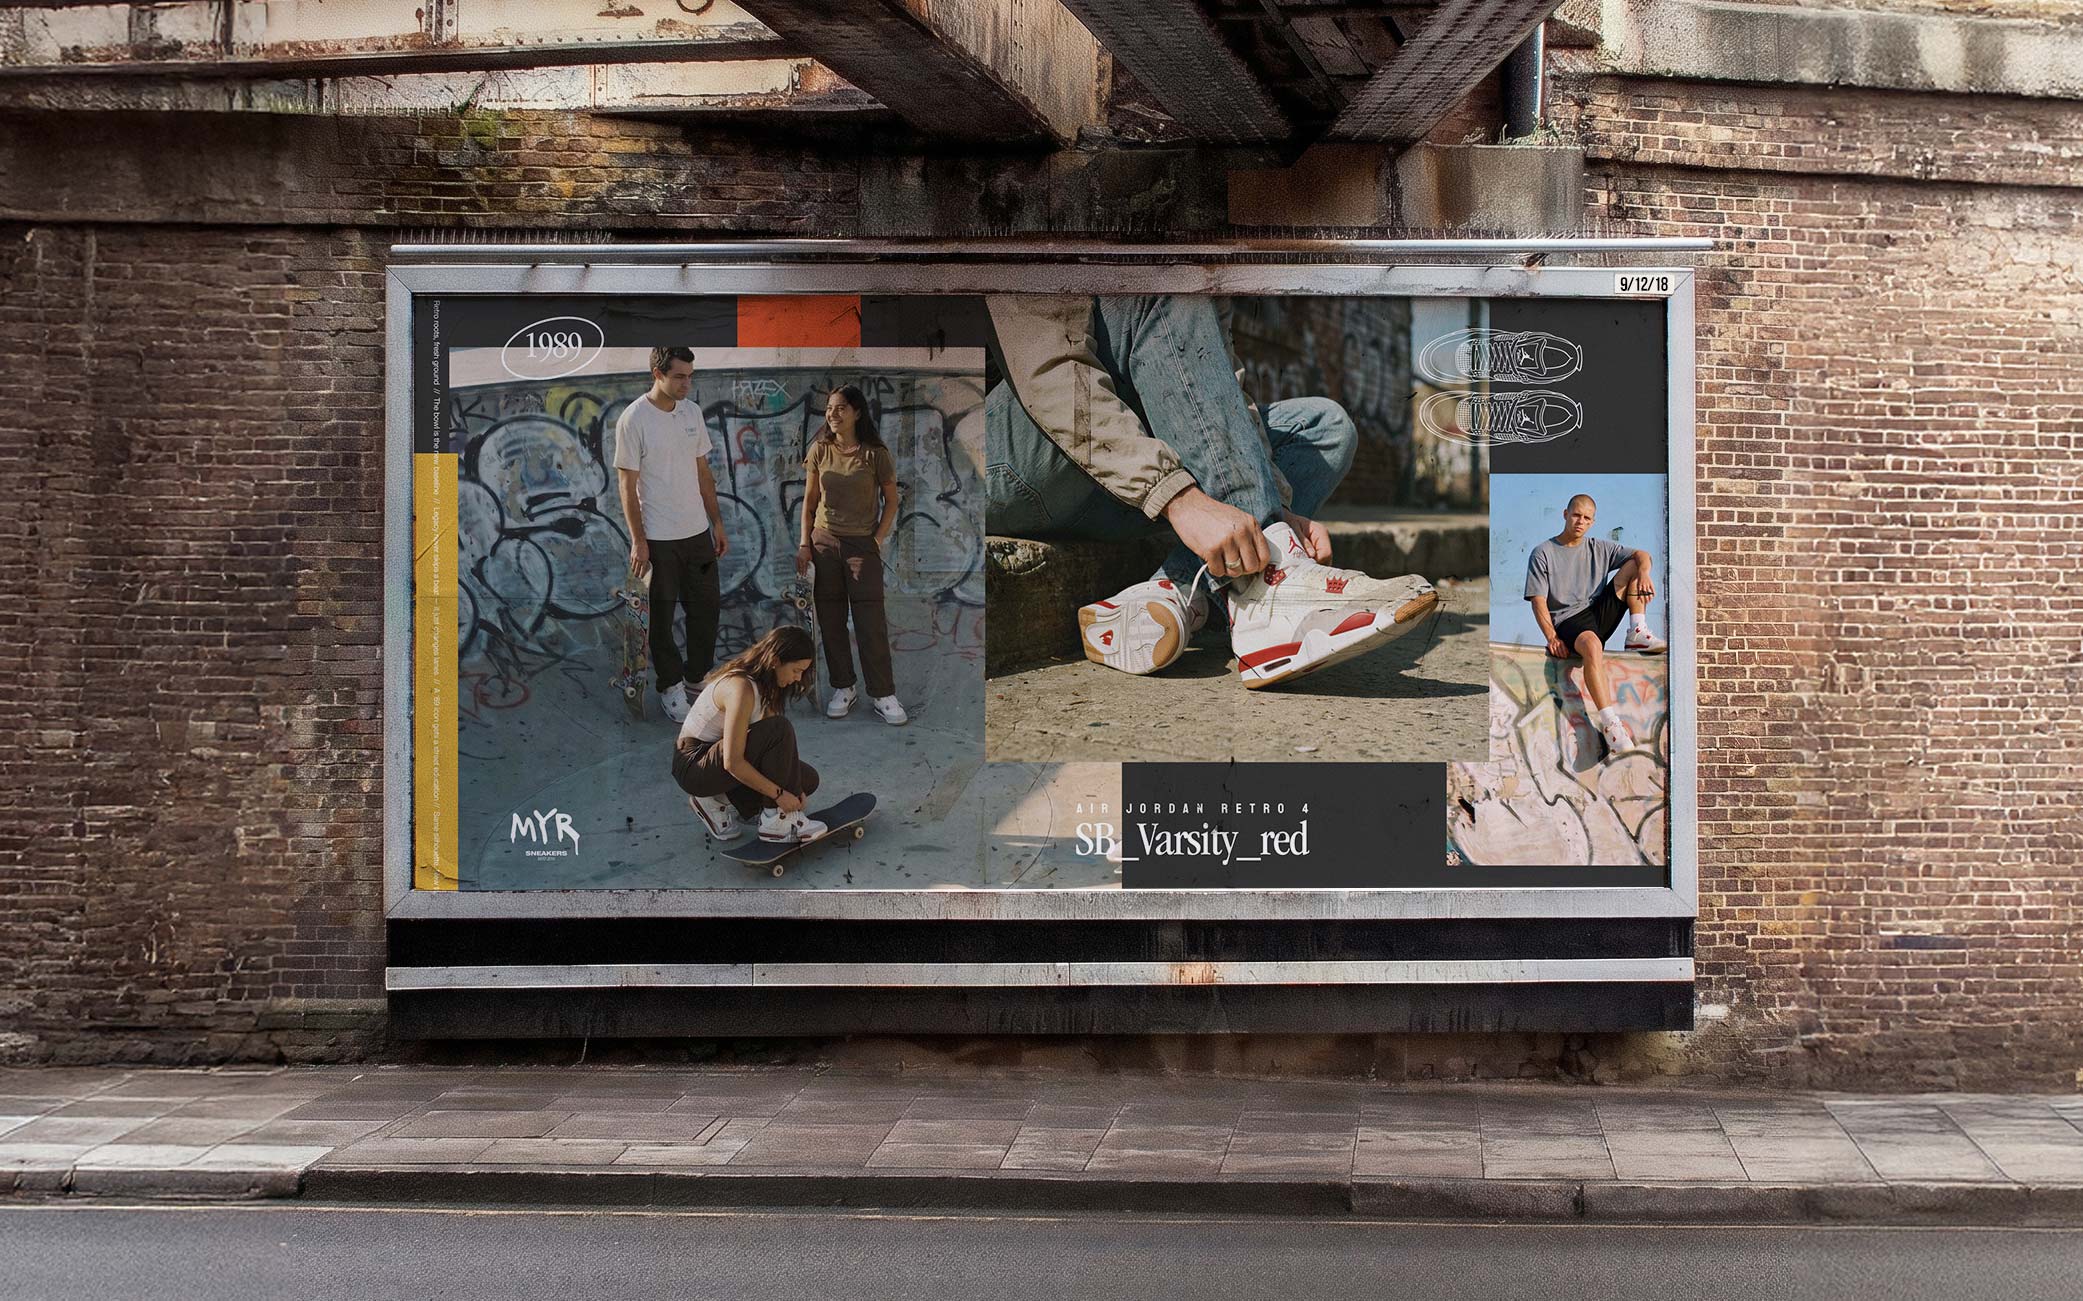
Christian from MyR reached out to me to work on the production of the promotional materials for their new sneaker model: Air Jordan Retro 4 ‘SB Varsity Red’. The goal was to develop the campaign’s main visual identity, Instagram content, and assets for their website.
The brief from Christian was pretty straightforward: “Bro, I need some content for this new sneaker.”
Which basically meant almost complete creative and visual freedom. Great on one hand, but also a bit of a challenge on the other. You know when someone tells you, “It’s a free topic” and you’re like… ugh, what am I even supposed to talk about?
So, I started by looking for a concept that could give the whole thing a clear direction.
My research started by looking into the sneaker itself. I learned that the design of the shoe, and the entire Air Jordan 4 Retro line, are some of the most important milestones in the history of street culture and sports footwear. I also learned that they were designed by legendary designer Tinker Hatfield and originally released in 1989.
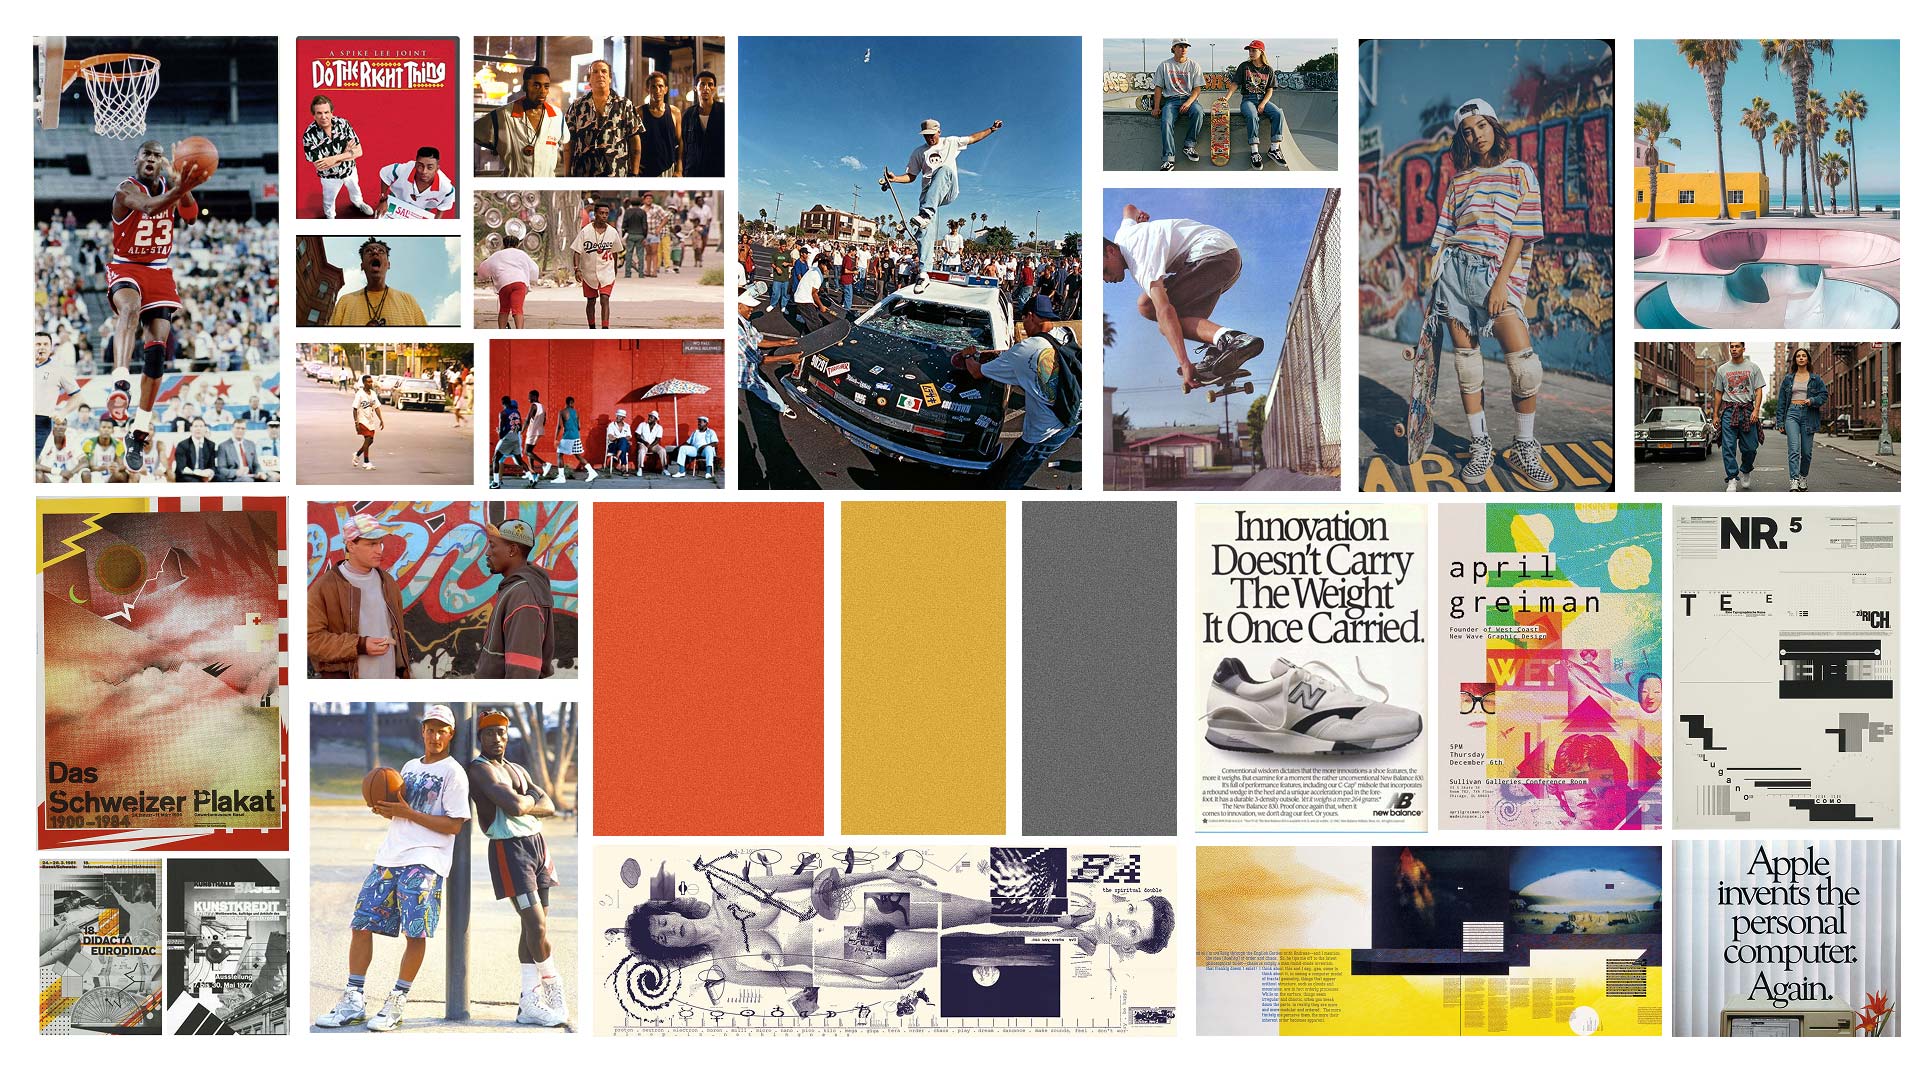
From there, I went down exploring sports milestones (Michael Jordan’s “The Shot”), fashion (minimalism, neutral colors, relaxed styling), film (Do the Right Thing, White Men Can’t Jump), and design (April Greiman, Wolfgang Weingart, New Wave, Grunge, Pixel, Macintosh). I cover my research process in detail in my article Visual Inspiration: 1980s Graphic Design, Fashion & Sneaker Culture. To keep it short for this case study, my research helped me consolidate the moodboard, color palette, typography, and the central concept for the campaign.
At the same time, the reference moodboard I created would later become the input for my Aesthetics Builder—but we’ll get into that in the next step.
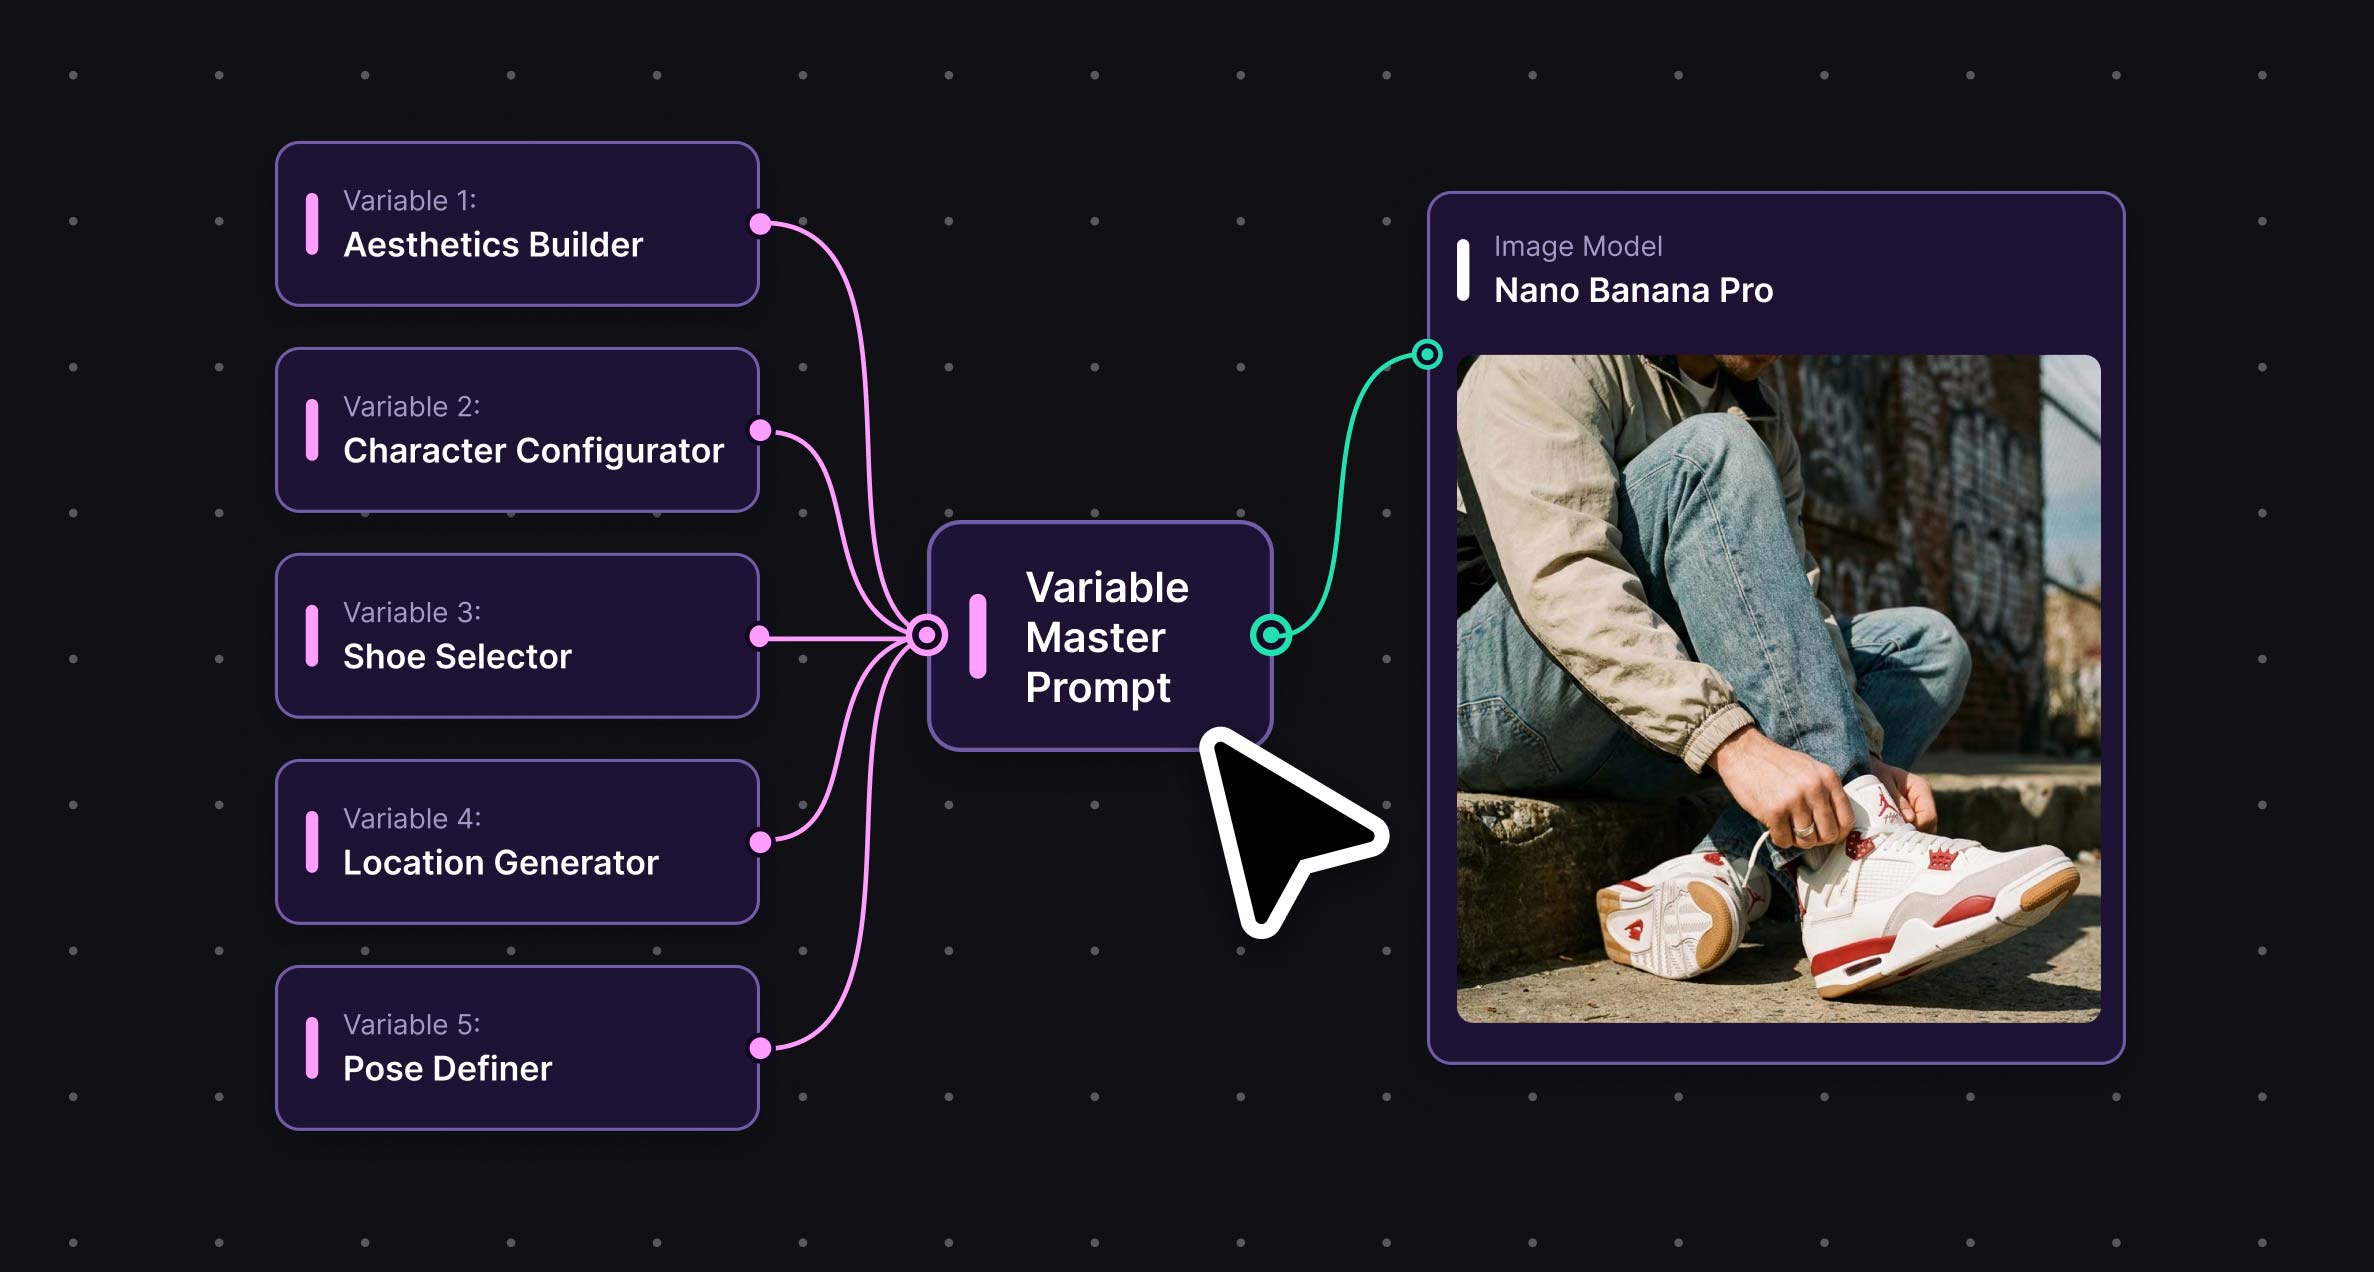
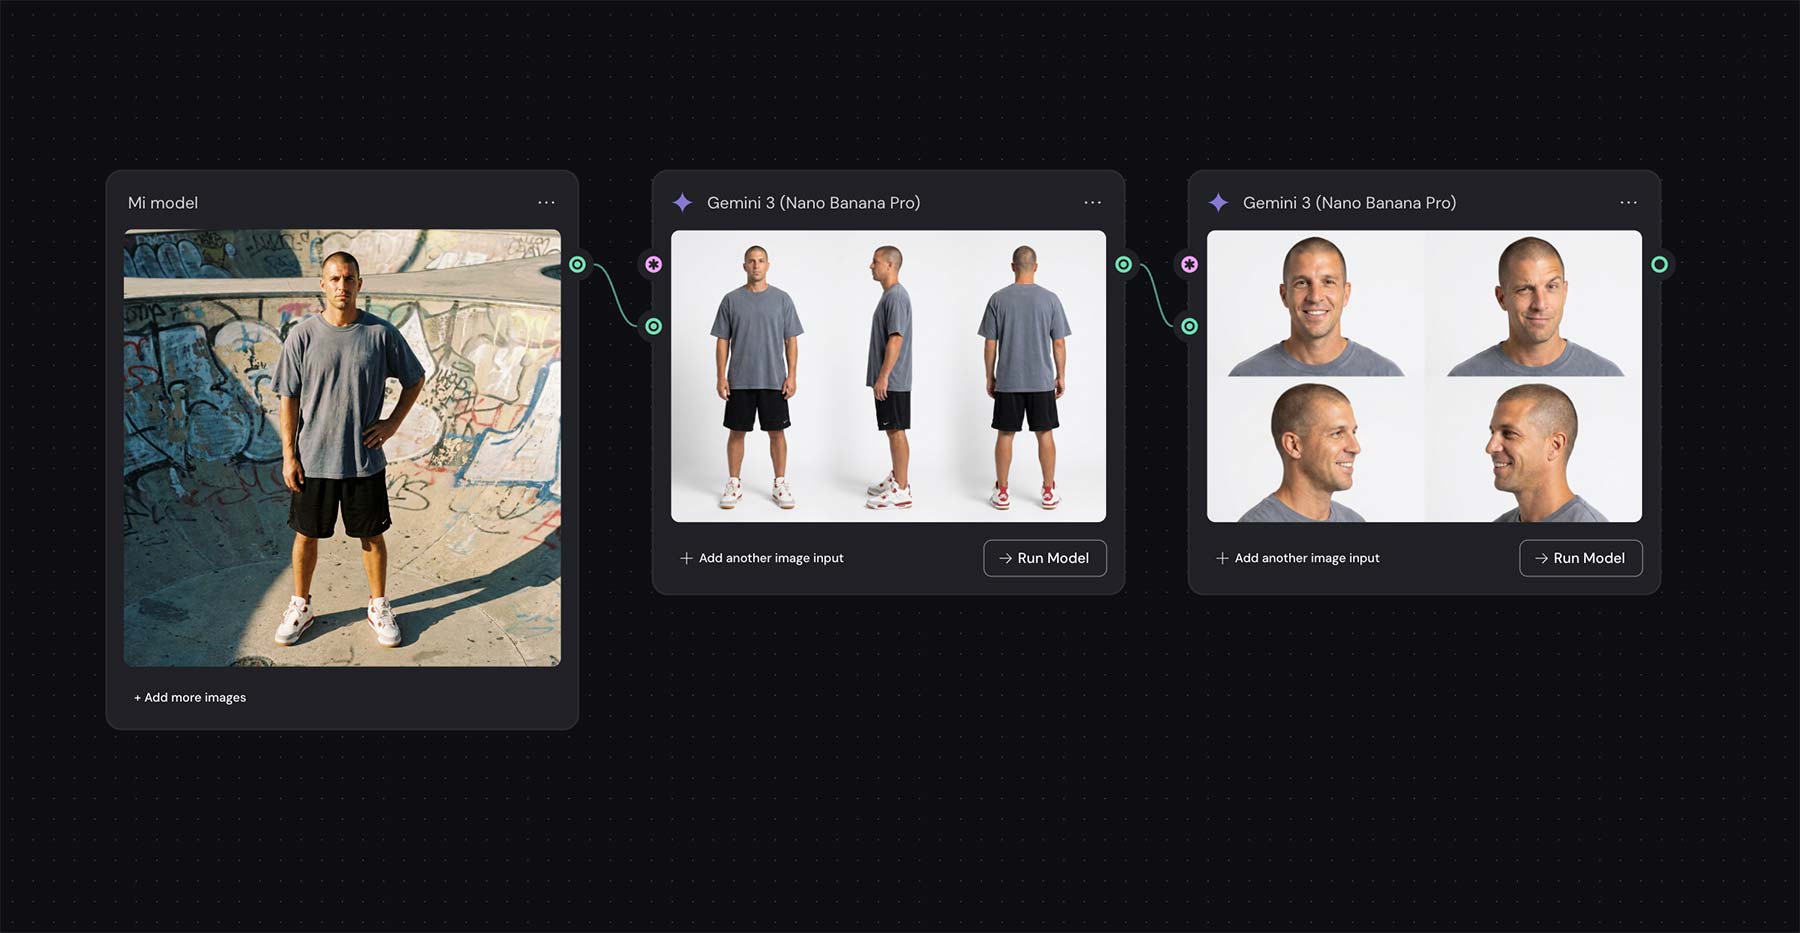
Once the aesthetic was defined and the visual foundations were in place, it was time to move on to the campaign photography. Since I had practically zero existing assets to work with, this was the perfect opportunity to build my AI Workflow: Infinite Photo Shoots & Models using Variables in Figma Weave.
In the article, I break down the process step by step and share the workflow in case you want to remix, improve, or reuse it. Basically, the workflow allows me to define variables that control the aesthetics, model characteristics, storytelling pose, sneaker model, and photoshoot location.
By combining these variables, I can scale asset production, iterate faster, and generate virtually infinite combinations.
Starting from a single photo—a right-side view of the sneaker—that Christian sent me, I used AI to generate multiple views of the sneaker from different angles for the e-commerce website, as well as campaign photography and product videos featuring models for social ads.


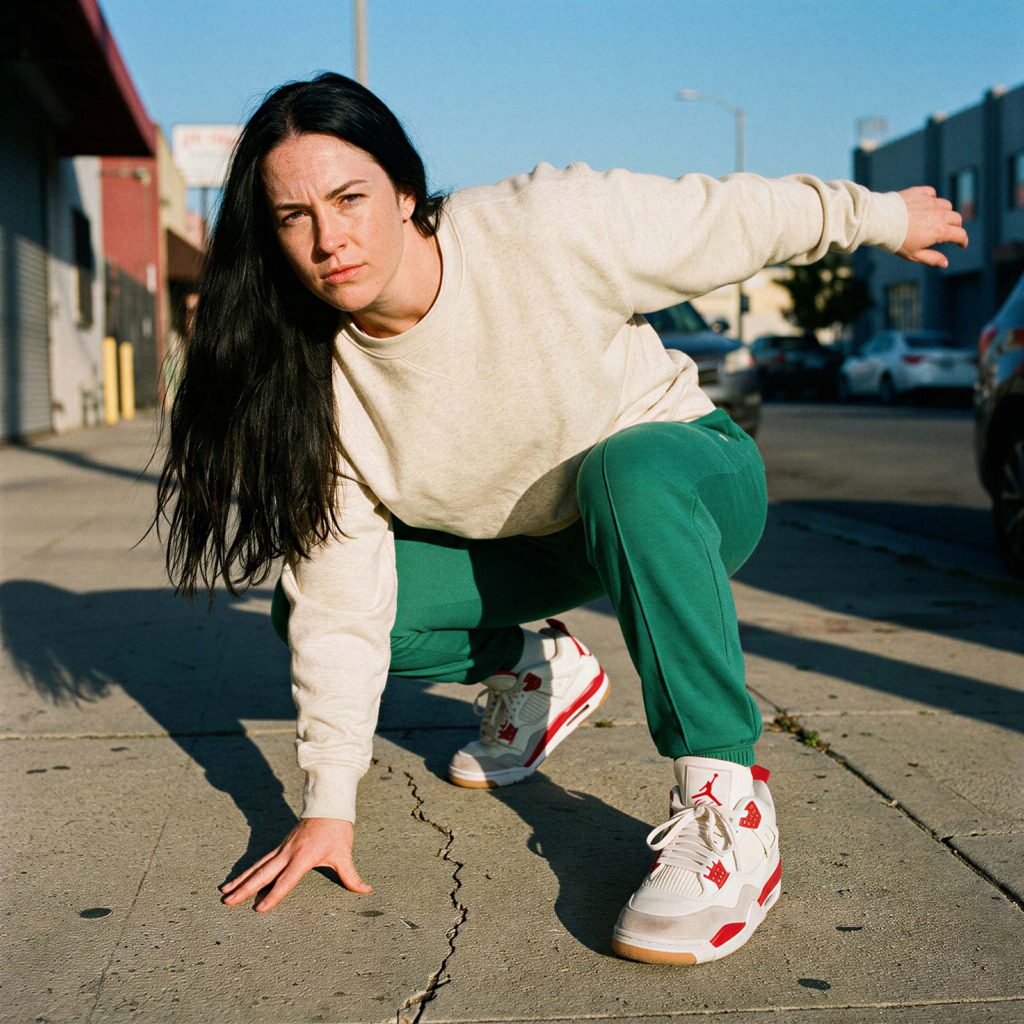
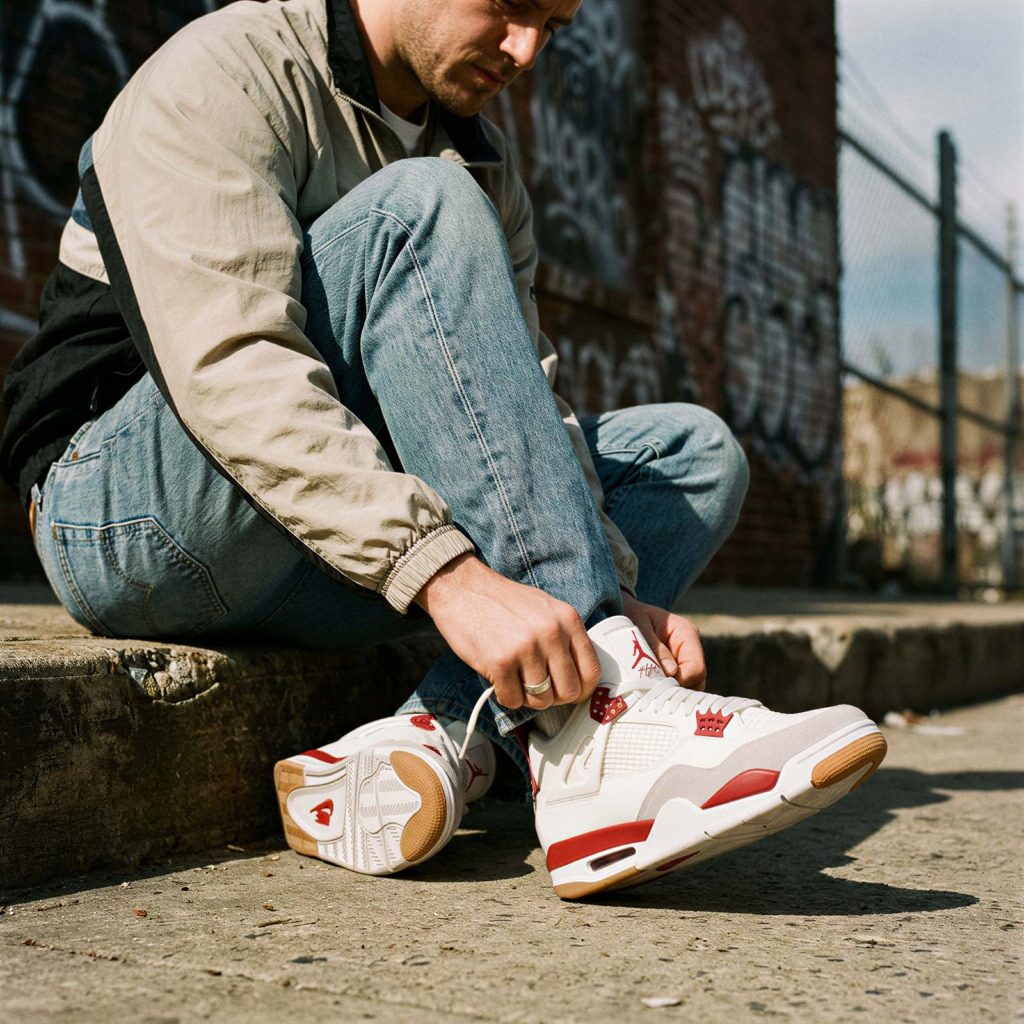
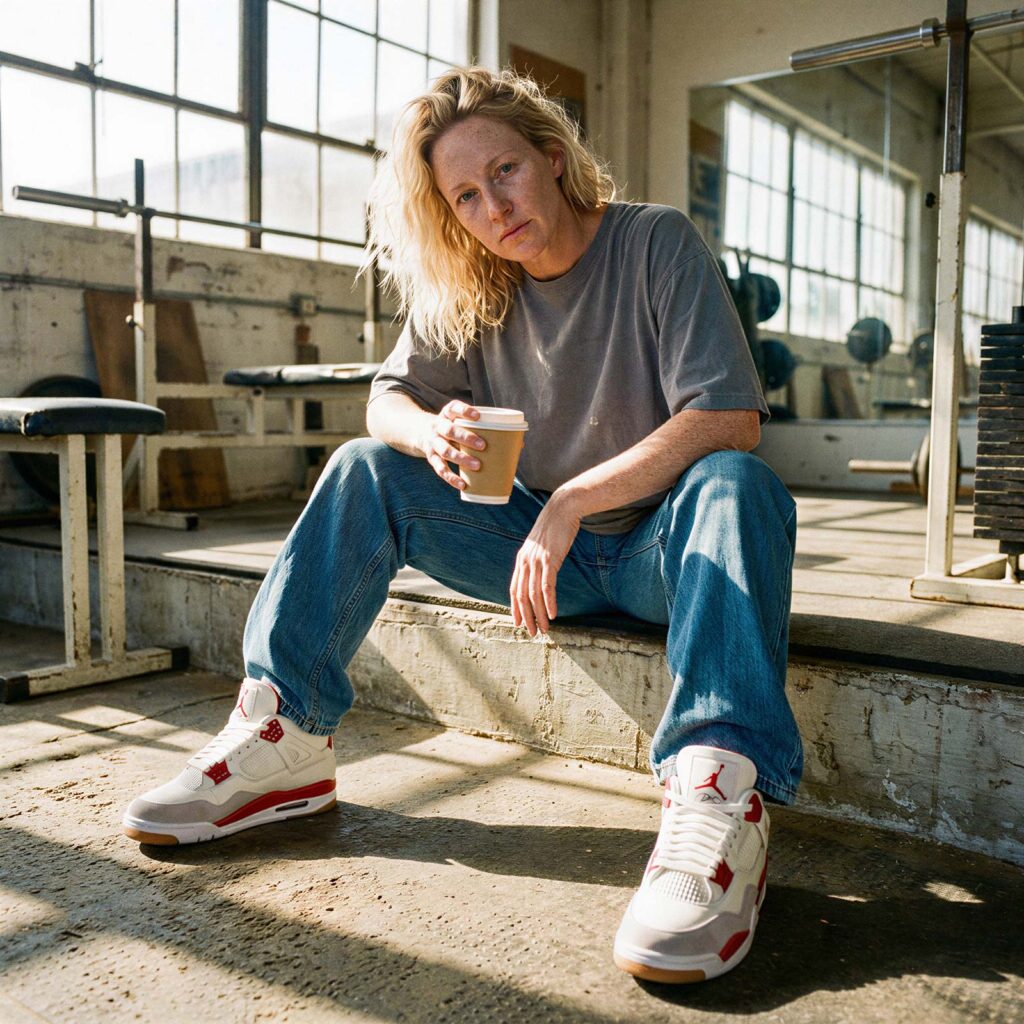
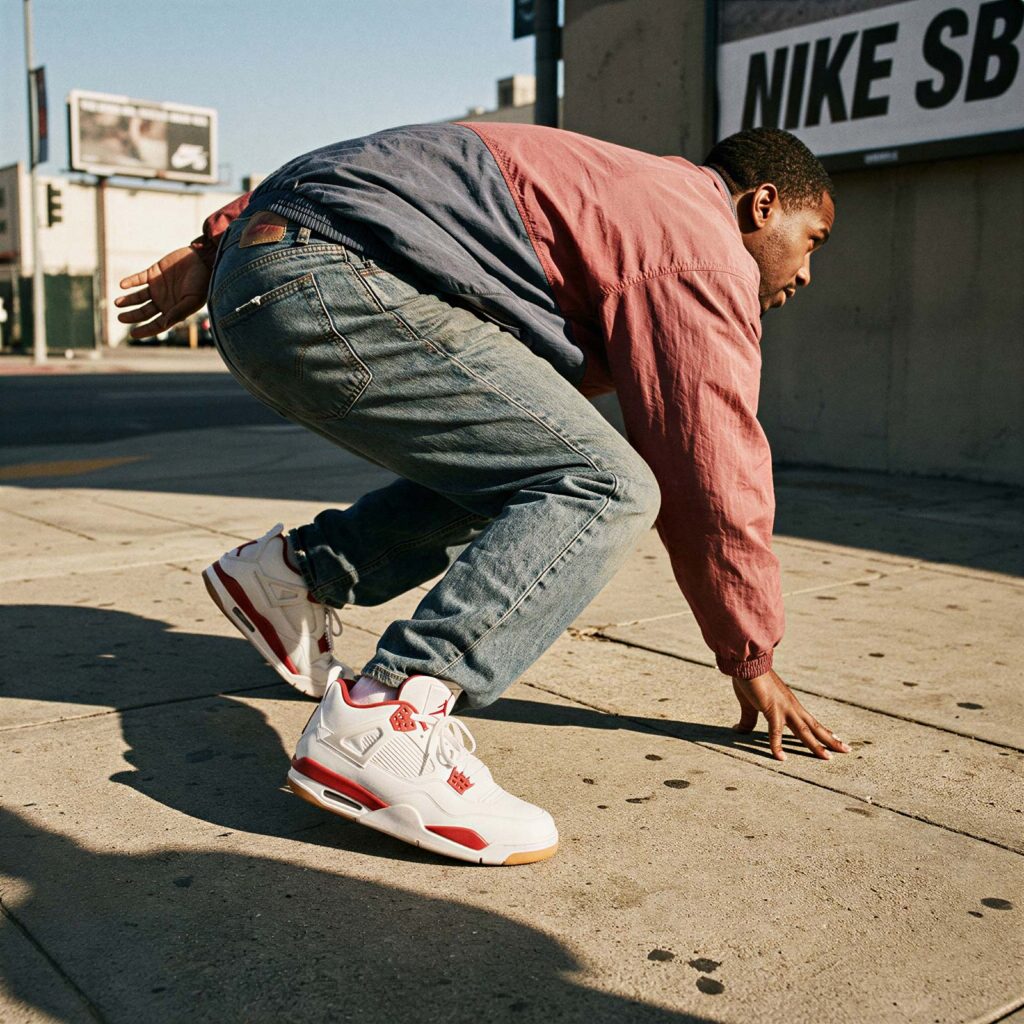
I incorporated the photography, color palette, and typography, while creating reusable layouts and templates.
Since we already had a system in place for generating infinite photo variations, it made sense to build scalable templates that could be reused across future campaign assets.


I’m not going to explain the entire video creation workflow here, as I still have an article about it on my Design Journey to write.
In short, I selected one of the models generated for the campaign photography and created a set of poses to ensure consistency across the shots. The shot ideas themselves came from me—they’re nothing groundbreaking—but I did use Claude to help structure and refine the prompts.
I generated a First Frame and Last Frame as visual references, and connected them to Kling, the AI video model, for each clip.
I then added a negative prompt, also generated with Claude, specifying the things the model should NOT do—basically, avoiding the usual AI weirdness, like suddenly giving the model three arms or other anatomical nightmares.
Overall, the campaign was very well received by my client. He really liked the design, but what he liked even more was the potential of the workflow to generate virtually infinite photo variations with almost no production costs.
As feedback, he pointed out the age of some of the models, since the target audience is primarily in their 20s and 30s. A few of my models were getting dangerously close to their 40s… just like me 😅.
Fixing the age of the models was no problem. Using my AI Workflow, I simply adjusted one variable and could generate the same shot with a completely different model.
The conceptual design exploration was all well and good, but none of it really matters if we don’t optimize the economic performance of the ads. So, together with Christian from MyR, we reviewed the performance metrics from the campaigns that were run.
What did I learn?
I learned a lot about the Air Jordan Retro models and about many of the important things that happened during the 1980s in sports, fashion, and design.
When building the workflow, I learned how important it is to do solid pre-production research and feed the AI with the best possible inputs. The better the foundation, the fewer random or unexpected results we get.
What would I have done differently?
I would have spent more time understanding how negative prompts work and how to use them effectively with certain video models.
Telling AI what we don’t want it to do can sometimes be just as important as telling it what we want it to do. A better understanding of this would have helped me avoid wasting credits during the asset generation process.
Next Steps
Building this AI workflow gives us a powerful tool for generating the next assets for this campaign—and potentially for future campaigns for the brand.
But it also comes with the responsibility of continuously improving it: iterating, refining, and adding new variables to gain even more control over every detail of our photo shoots.