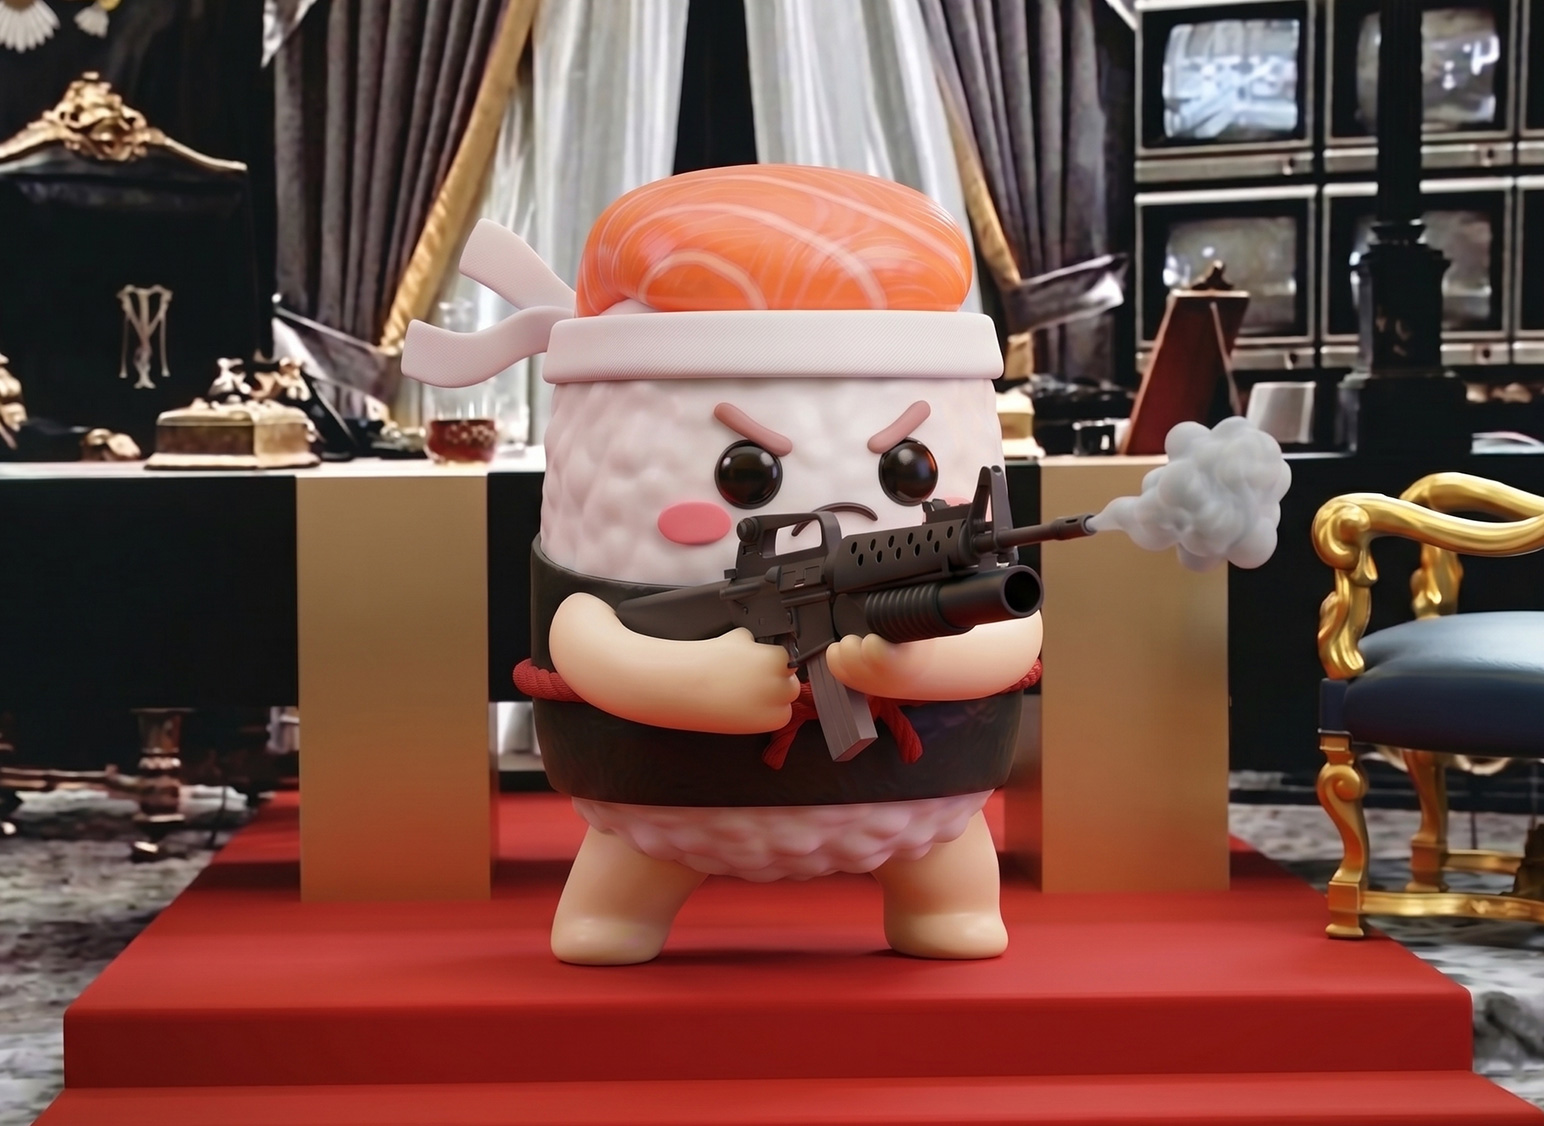
The video was developed as part of the Nigiris vs. Uramakis in the Niudo Sushi Campaign, where the Nigiri and Uramaki teams face off in an epic final battle.
But long before the fight takes place, the protagonists are preparing by training hard. One of the campaign’s pieces is this training montage featuring our Uramaki, who trains as if he were Rocky Balboa.

1. Designing the character
To understand how the character was created, we first need to understand who he is inspired by.
I assume everyone knows Rocky Balboa and his iconic training sequence, but just in case you don’t, here’s the video.

Great, we already had the foundation for our character because we had previously defined it for other pieces of the campaign. Here’s the full campaign if you want to take a look. So, all we had to do was dress him up as the Italian Stallion.

*Let’s remember that, up until this point, our character was still called Uramaki and hadn’t yet acquired his final name: Uramarocky.
To start the process, I used the node-based platform Figma Weave. I uploaded a photo of Rocky wearing his training outfit and instructed it to analyze only the character’s clothing.

*The guy in the photo above is Anthony Ippolito dressed as Rocky for the movie I Play Rocky.
On a separate note, I Play Rocky is a biographical drama directed by Peter Farrelly that tells the true story of how a young, unknown Sylvester Stallone defied the odds to write and star in the 1976 cinematic classic Rocky.

Then I took those parameters and used the Nano Banana Pro model to combine them with my existing character—and voilà! The character was ready! Just kidding. Take a look at what it actually did:

Nice try. But the face sticking out above the sweatshirt, the poorly positioned beanie, and the sais weren’t what we needed for the training sequence. So it was time to fine-tune the result by giving it precise instructions about these elements.
A couple of tweaks to the prompt, and this time, Uramarocky was finally ready to move on to filming the training scenes.

2. Script
The script was pretty straightforward, since it was inspired by Rocky’s iconic training montage. All I had to do was pick the most memorable scenes. I remembered most of it since I’ve seen Rocky many times, but to refresh my memory, I watched the training sequence several times and mapped out the scenes.

3. Building Frames
Once the scenes were defined, I had to start creating the “frames” I would later use to generate the animations—or, more accurately, to direct the AI and tell it what kind of animation I wanted. In my case, the AI model that gave me the best results was Kling 3.0. But we’ll dive deeper into that later.
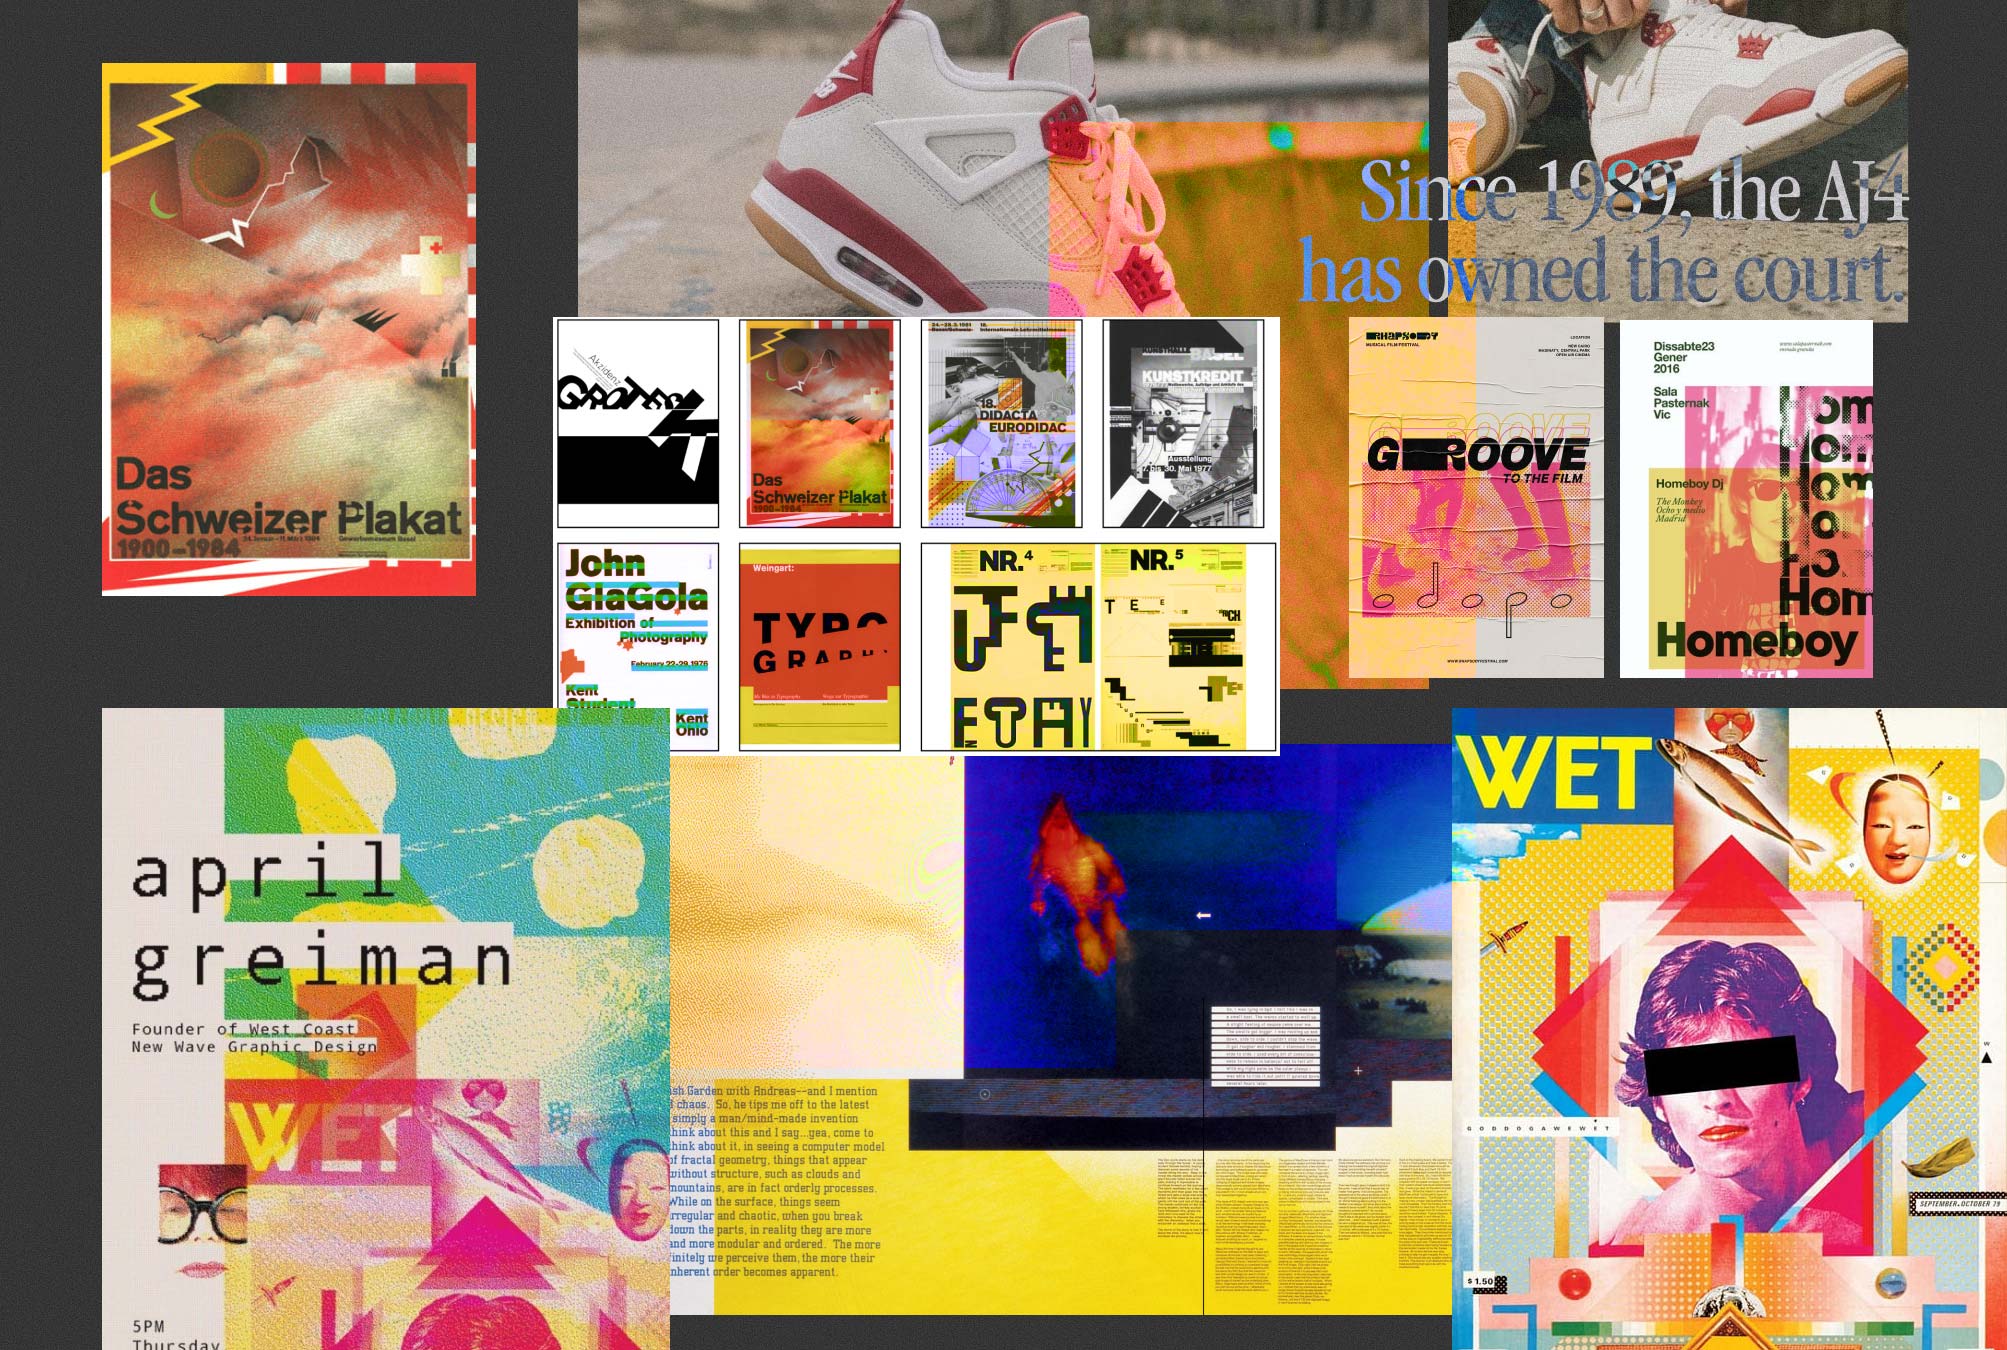
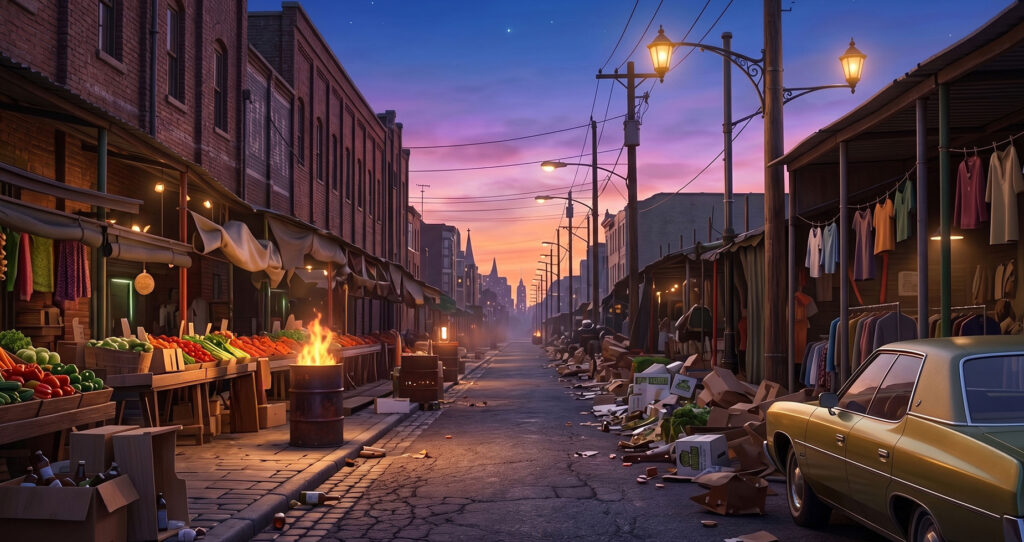
The visual style had already been established earlier when creating the campaign’s main characters. I decided to give them a Pixar-like movie aesthetic, so the locations needed to follow the same visual language.

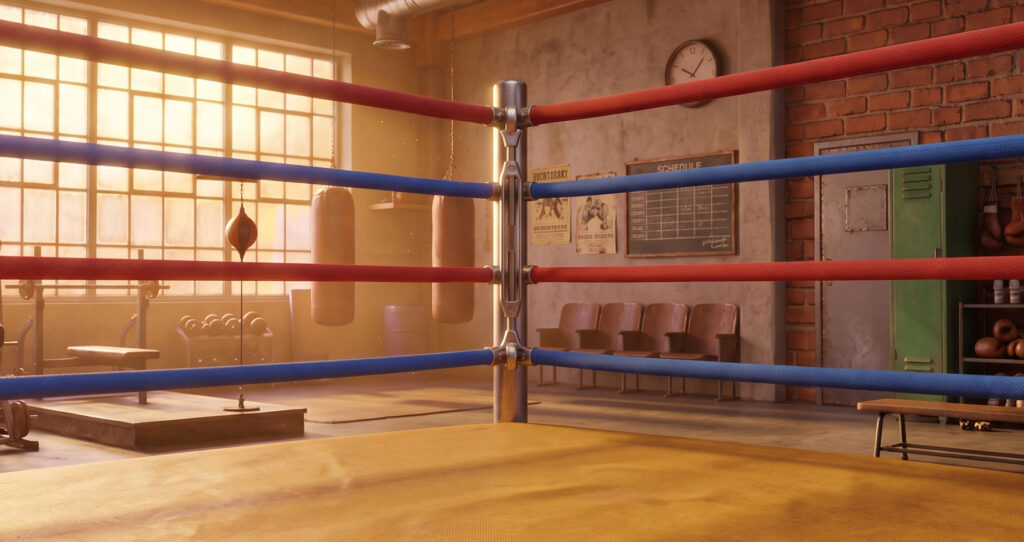
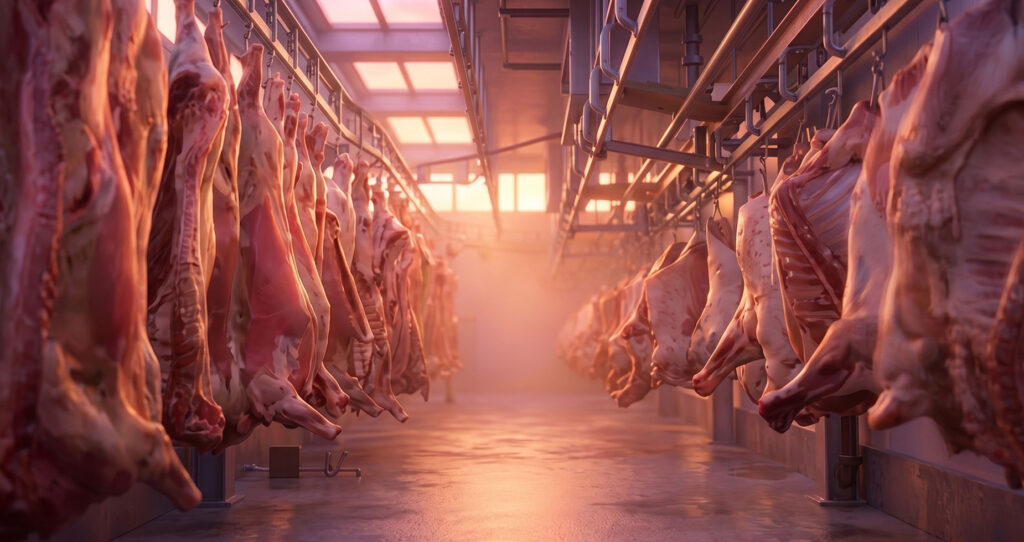
I uploaded the reference images I had previously collected. First, I removed Rocky from the scenes and once again asked Nano Banana Pro to apply my already-defined visual style to the images while keeping the composition from the references.
If you want to take a closer look at how to precisely extract a visual style from a group of references, you can check out my article: Infinite Photo Shoots & Models using variables in Figma Weave.
4. Adding Uramarocky into scenes
Sometimes, all it takes is describing the frame in a prompt to an image-generation model (I’ve been using Nano Banana Pro for all my assets), connecting the character and the location, and the shoot comes out exactly as we envisioned. But sometimes, it doesn’t. So, to have more control over the shot, we need to connect a few additional nodes and spend a few more credits.
The goal is to generate a 3D model from our character’s static image—one that we can manipulate and rotate however we want. Then, we’ll use a compositor to combine the location with the 3D character in the desired pose.
First, we connect the image to the 3D model generator (in my case, I used Meshy v6). Once our 3D model is ready we connect it along with the image of our location to a compositor node.
This way, whenever we rotate our sushi in Meshy it automatically updates in the compositor node allowing us to adjust the character to whatever position and posture we want.
Obviously, the result is pretty rough at this stage. But what matters to us is the composition, because sometimes a prompt like, “Put my sushi at the top of the stairs, looking toward the monument”, just isn’t enough. That said, sometimes it nails it exactly as you imagined, and you can skip all the 3D hassle.
So, following the process, we take the sushi composition—which at this point looks like a badly photoshopped cutout—and feed it back into an image-generation model to let it do its magic.
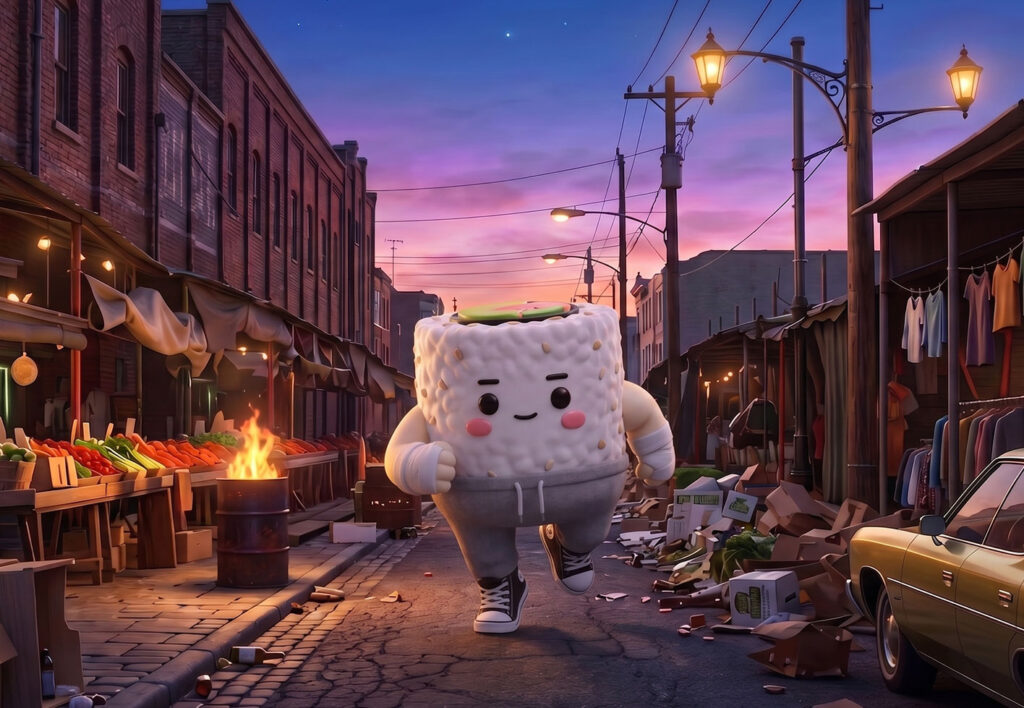
The model harmonizes the scene and the sushi, adjusts the lighting and shadows, adds that nice little reflection in the water. Basically it makes the sushi actually feel like it belongs in the scene.
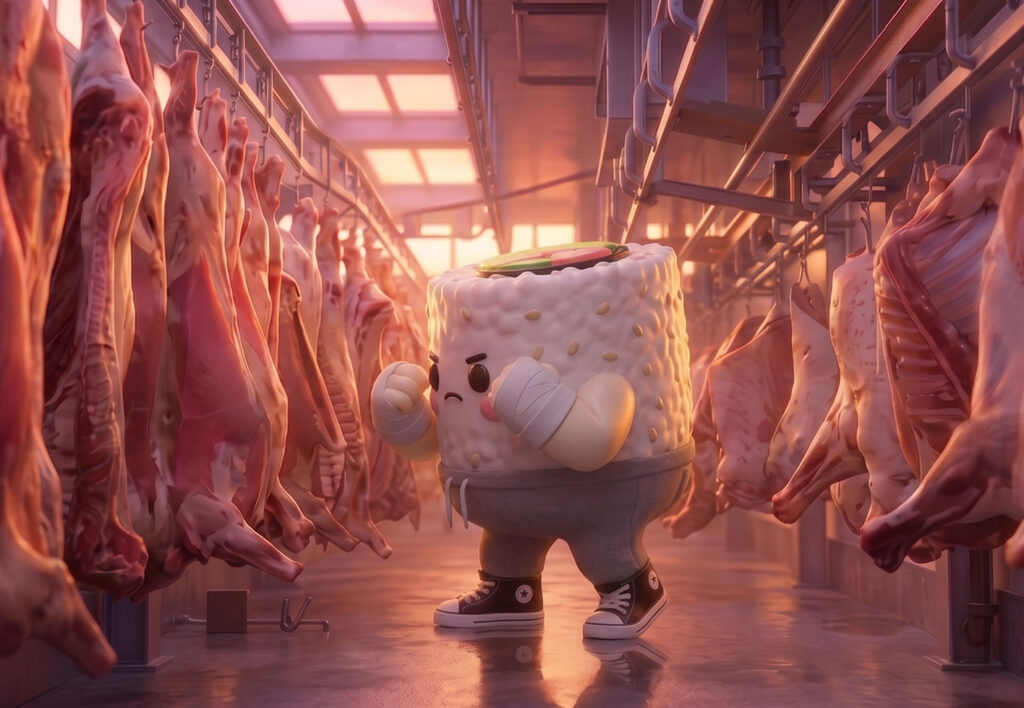
And as the guy from Art Attack used to say, when you’re done, you’ll end up with something like this:

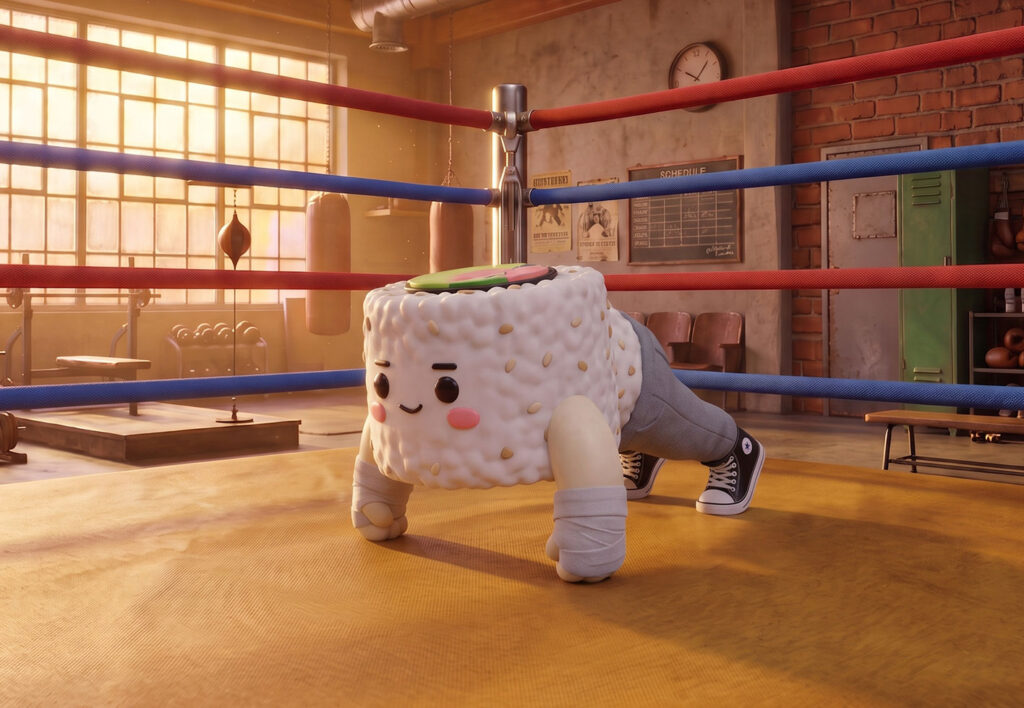
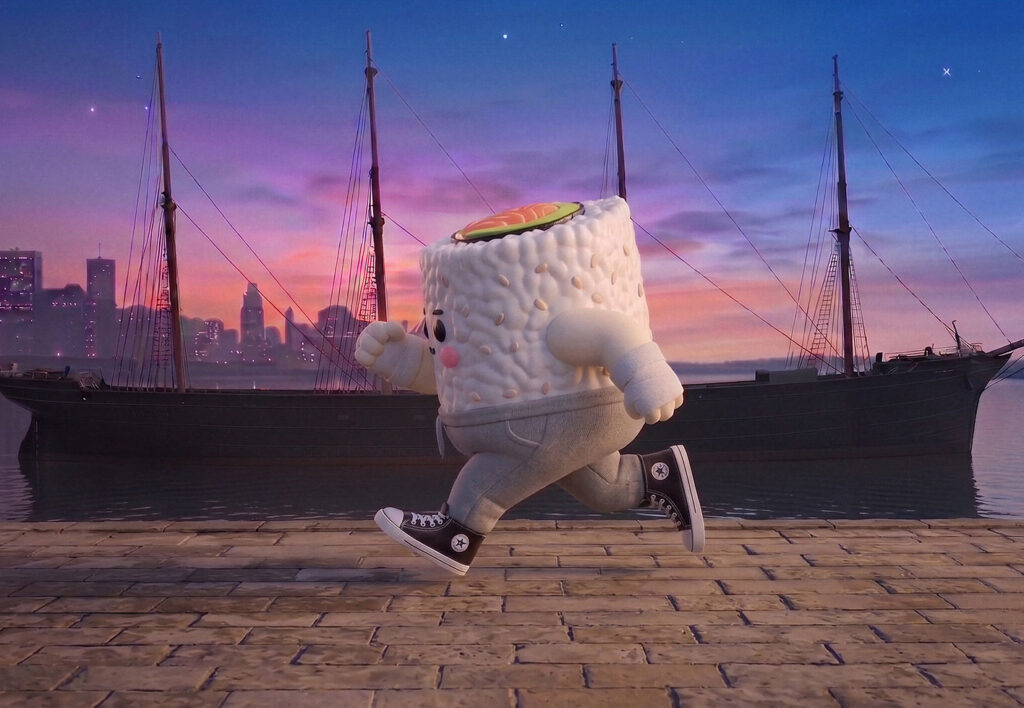
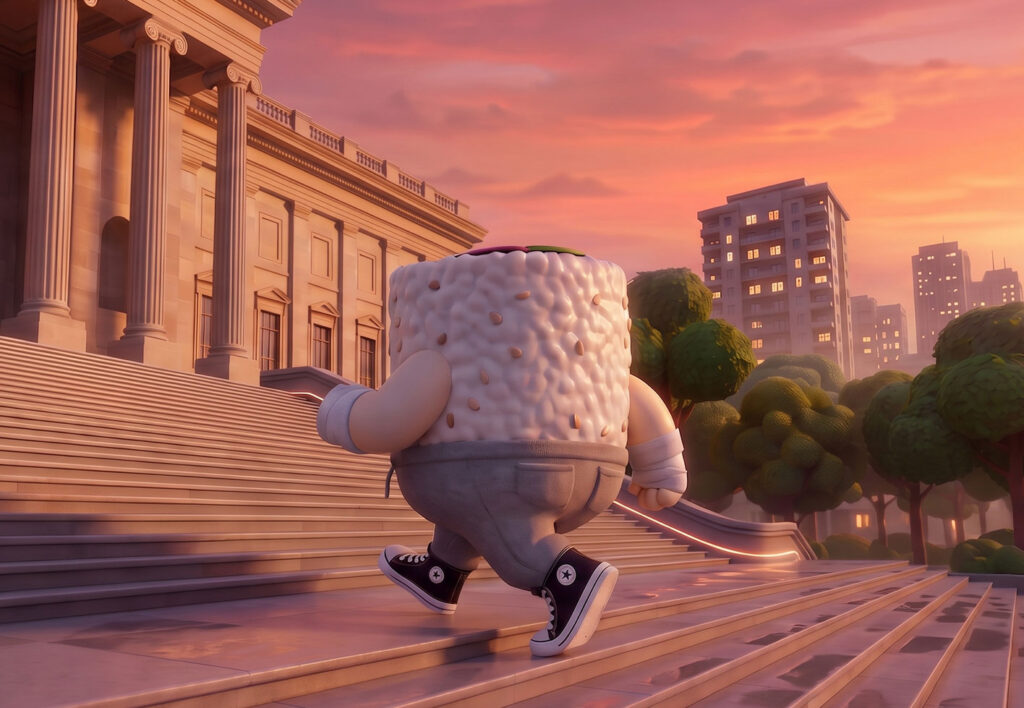
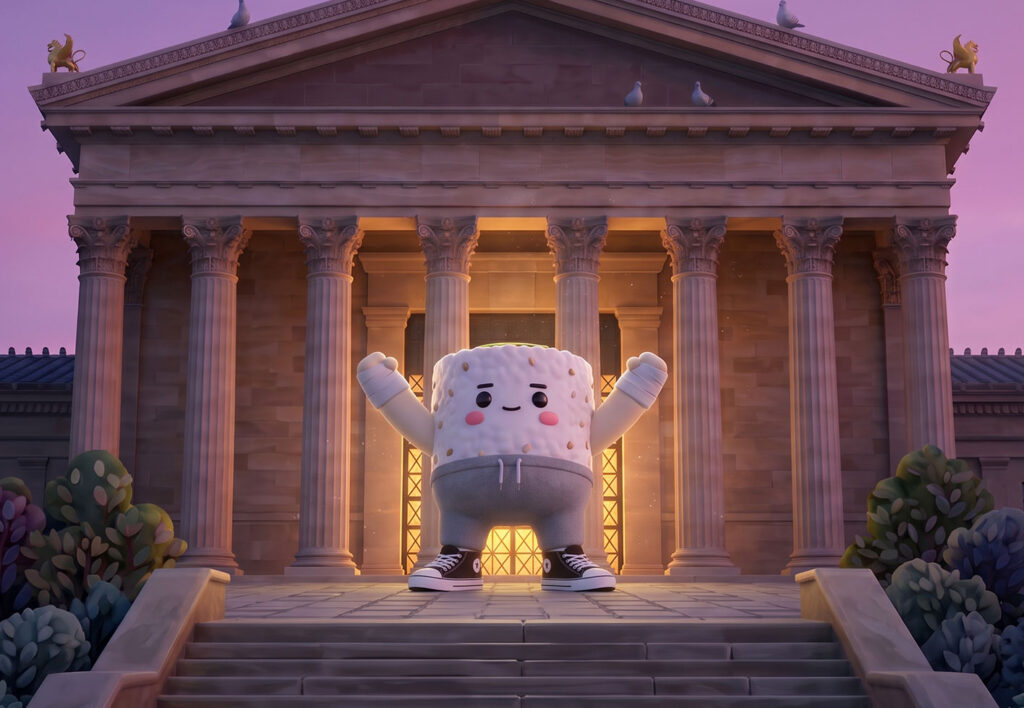
Here in the gallery, I’m adding the other shots so you can see how they turned out:
5. Animating scenes
Now for the most challenging part—and the one that consumed the most credits. With the frames for all the scenes ready, it was time to put our sushi in motion. As I mentioned earlier, the AI model I used was Kling 3.0, which allowed me to create 4-second scenes at a cost of 66 credits each.
To feed the Kling model, I used three elements: Prompt, First Frame, and Kling Element.

• Prompt: I described the scene to Claude in natural, informal language—as if I were telling a friend what I wanted—and asked it to build the prompt for me. I then read through the prompt to see what it had come up with. The LLM helps me describe the scene in much more detail and incorporate technical concepts that I might know I want, but don’t necessarily know the exact name for—like a specific camera movement.
For example, to achieve the first scene—Uramarocky running through the streets of Philadelphia—I went crazy trying different things until, after chatting with Claude and ChatGPT, the two of them helped me explain to the video model exactly how I wanted the camera to move:
“A reverse dolly tracking shot, as if filmed from a camera mounted on a vehicle driving backward in front of the runner, keeping him centered and constant in size throughout the entire shot.”
That said, sometimes more detail is better, while in other scenes, adding too much detail just complicates things. The model gets confused and does whatever it wants. You can even run the exact same prompt twice and get completely different results.
Basically, it’s all about trial, error, and iteration.
• Kling Element: This is pretty useful because it allows you to upload photos of your character from the front, side, back, etc., helping maintain consistency throughout the scene and preventing the model from changing the character or doing weird things. To feed this node, you simply upload your sushi reference images from different angles.
• First Frame: Just like the name suggests, this is the first frame—the point where the scene starts. The model also gives you the option to add a Last Frame, which can be useful when you know exactly how you want the scene to start and end. In my case, I only used First Frame for every scene. By describing the action through the prompt, I was able to get the results I wanted.
If your animation involves the sushi moving from point A to point B, First Frame + Last Frame will very likely be useful. On the other hand, if you want the sushi to do push-ups while staying in the same place, you can probably get away with using just First Frame and describing in the prompt that you want it to do push-ups.
6. Final Result: The Video
Once all my scenes were generated, I put them together and added some cool music, also generated with an AI tool that combines a training montage vibe with a Japanese sushi-inspired style. We’ll talk about AI music generation in another article.
And now, the video. Unmute it to hear the music. 😄
7. Backstage
Sometimes what seems like a completely obvious prompt to a human isn’t obvious at all to a video AI model. You may have explained everything with incredible precision—so much that it sounds almost overexplained—and the model will still do whatever it wants. In this Uramarocky training video, some scenes came out right on the very first generation, while others took up to five iterations.
Did I prompt it incorrectly? Yes, maybe. Or maybe not. Sometimes, getting a model to understand exactly the scene we have in mind takes several rounds of conversation with an LLM. The two of us have to get creative, look for synonyms and analogies, and eventually find the right way to phrase the prompt.
There’s no magic formula. Just little tricks you pick up along the way about what to tell the model—and what not to tell it—so it doesn’t go completely off the rails. It’s all about generating, tweaking, iterating, iterating, and iterating.
Here are a few scenes that didn’t turn out exactly as I wanted:
I stuck to the scene-by-scene storyboard, just like in the Rocky movie. But, for example, if I had decided to create one continuous shot for this scene, in that case it would have been really useful to use First Frame – Last Frame.
8. Conclusions
Workflow Cost in Credits
If you’ve made it this far, reading through all of this in these times of anxiety and high levels of dopamine, that’s genuinely an achievement. So, to thank you, I want to reward you by sharing the complete prompt so you can turn any piece of sushi into Rocky with just two clicks. Comment “uramarocky” and I’ll send you the prompt. 🙄
Just kidding. Obviously, there’s no magic prompt that will do everything for you, no matter what the AI gurus on social media might have you believe. That said, it’s true that these models are constantly improving. They can generate longer videos in a single pass, maintain character consistency much better, and the results can be genuinely impressive. It’s all about getting creative, trying things, tweaking, iterating, and iterating some more.