The logic behind the design of this website/portfolio — the very one you’re reading this article on — was pretty simple: the content and the case studies should be the protagonists. If something was going to make an impact, I wanted it to be the case study or the article itself, not the website competing for attention with crazy animations or some weird template.
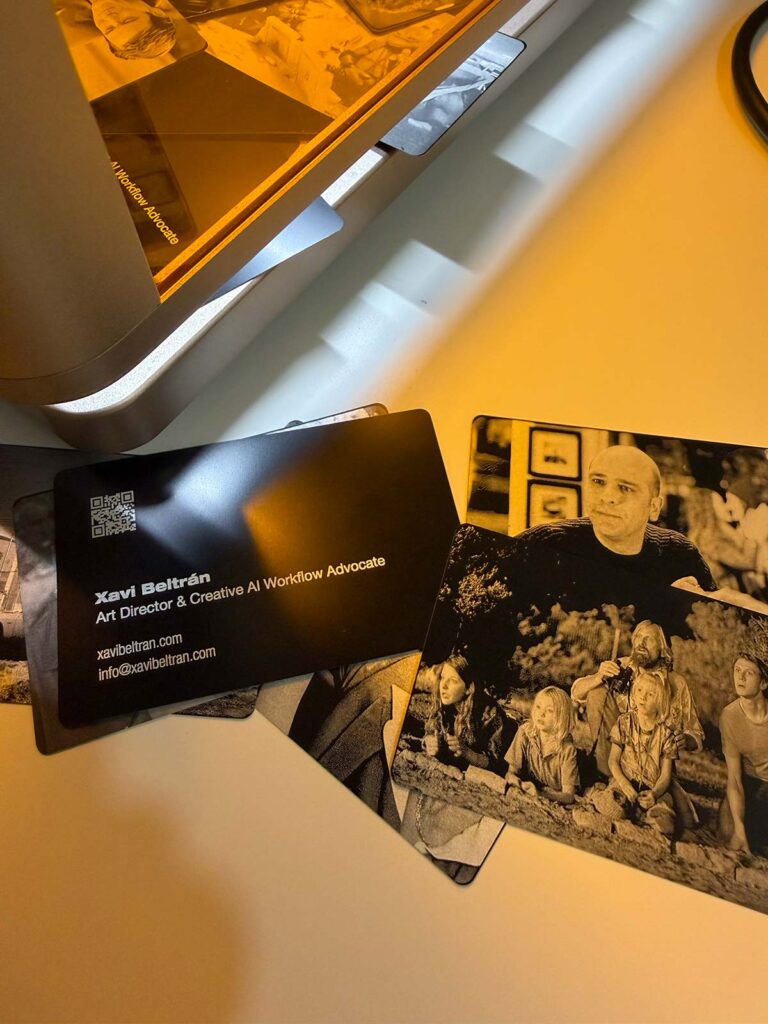
So I kept the visual language simple and neutral: black and white, everything nicely organized, clean hierarchies and easy to navigate. I wanted to follow that same conceptual logic when designing my own business cards. Black and white. Helvetica. A tiny QR code. Done.
Everything was looking good on one side. But then… what about the other side being completely empty? Mmm 🤔 And making them out of regular old paper? Yeah, I needed to find a better solution.

Spoiler 🙄
Inspired by Acrylic Engraving
Then it hit me. Not immediately, though. A few days later. It’s not like I was thinking about the business cards all day either. But I remembered a project I had worked on with the team at Lumpalab. They’re a company specialized in personalization, printing, laser engraving, and all that good stuff. We had collaborated on a menu for a restaurant. But this wasn’t your regular, boring menu. It was a laser-engraved menu on black acrylic.
One side had the QR code — you know, the usual “scan to see the menu.” But the other side, that’s where things got interesting. A top-of-the-line, photographic-quality laser engraving. Something that doesn’t just give you a way to display the menu. It upgrades the whole table setup and makes the experience feel more premium — which, ultimately, can help raise the average ticket.

Laser engraving on black acrylic. Each QR menu featured a different iconic landmark from the Marche region.
Yep, that was it. My business cards had to follow the same concept. One side with my info, and the other side with a photo. But what photo? I wasn’t going to put a picture of myself on there. So I spent a few more days thinking about what the hell I could put on the other side.
Choosing & Validating the Material
While I was figuring out which photo to put on the cards, there was another thing I had to solve: the support. The material. The menus we had made back then looked amazing engraved on black acrylic. But there was no way I was going to make a business card that was 4 mm thick. Not exactly practical to carry around. And probably not the nicest thing to hand to someone either.
So I started looking for alternative materials and found 0.20 mm black aluminum. Perfect. Business-card size, rounded corners already done, and I could order 100 units. It was specifically listed as suitable for laser engraving, so it seemed like a pretty safe bet. Still, I wanted to validate it first with the guys at Lumpalab. They really know their way around materials, and they confirmed that their xTool F2 Ultra UV could engrave them perfectly.

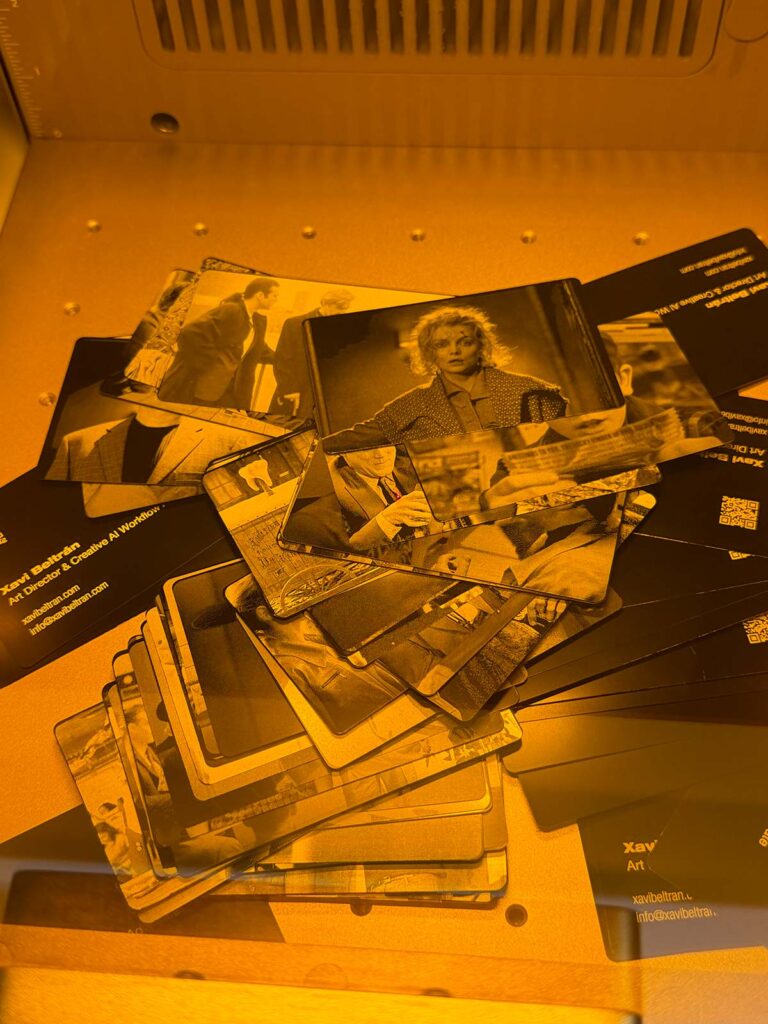
100 Cards, 100 Different Designs
Whenever you want to get business cards printed, the minimum order is usually 100. And, obviously, all 100 are going to be exactly the same. Because who the hell would make 100 different business cards? And besides, the price they’d charge you would be insane.
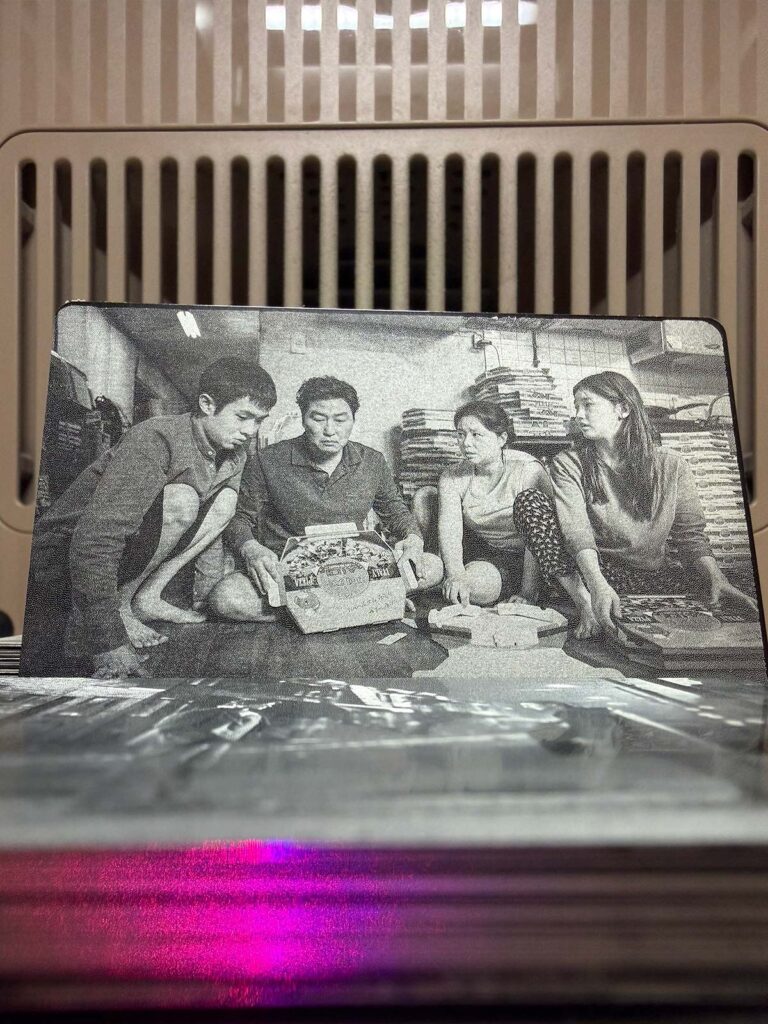
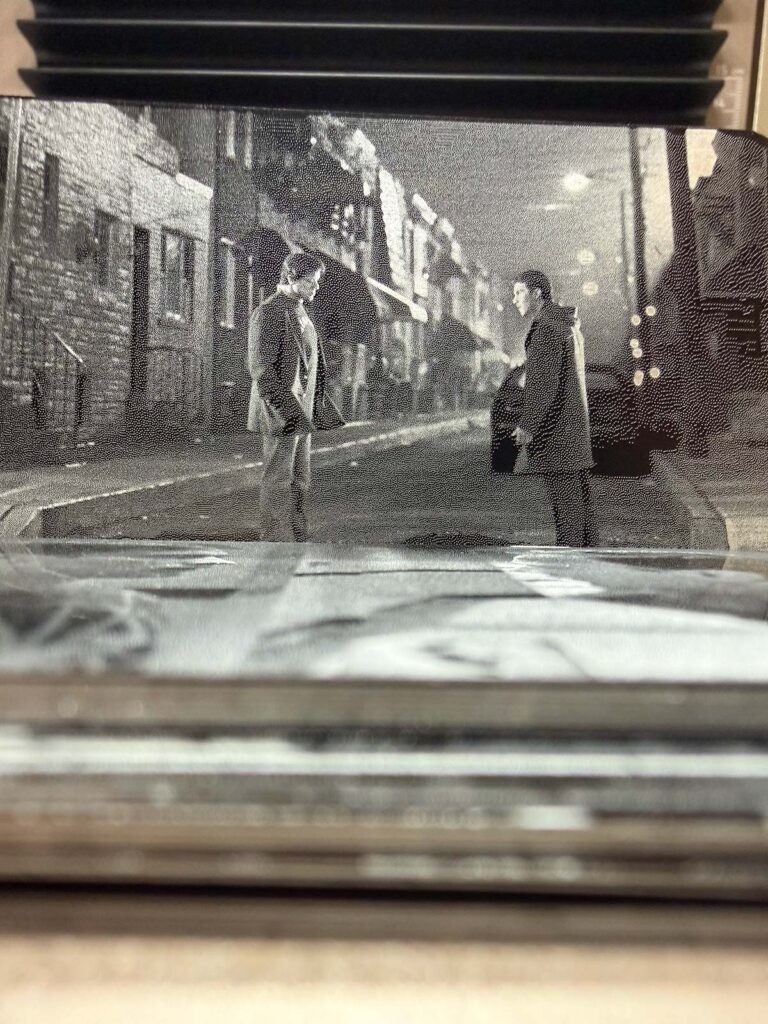
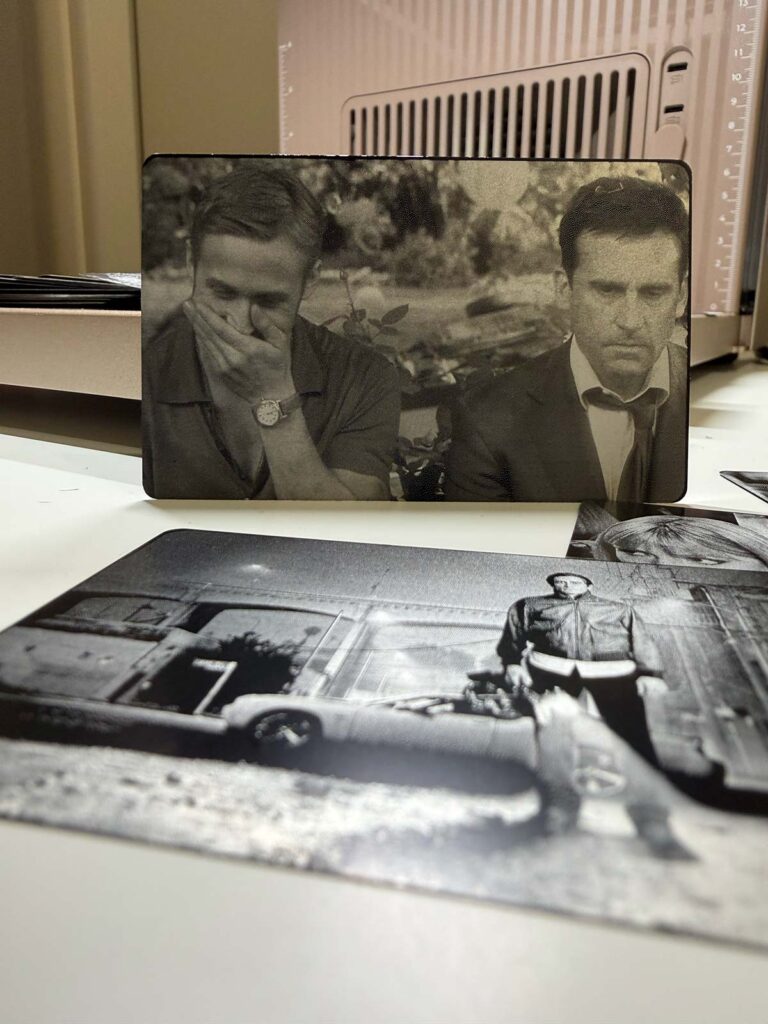
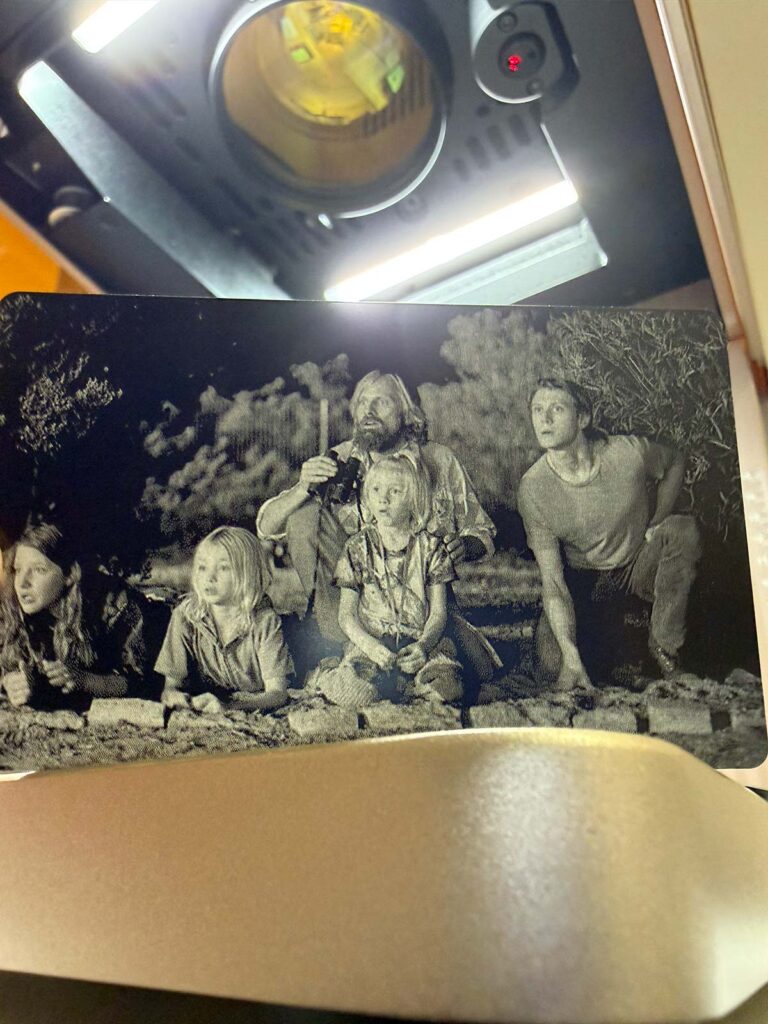
But the restaurant menus we had made were all identical on one side, while the other side was different on every single one. That was the key. So, once I decided to make all 100 cards different, I needed to find something that actually represented me. Frames: Movies, TV shows.
But these aren’t the 100 greatest movies of all time according to a bunch of random dudes on Rotten Tomatoes. Not even close. Sure, you’re not going to find The Godfather, The Shawshank Redemption, The Dark Knight… Well, The Dark Knight is actually in there. But not because it’s in IMDb’s top 3. It’s there because that’s how I felt about it.
I picked 100 frames from movies and TV shows. A lot of them are movies I absolutely love, but some of them are connected to completely different things. Two movies my brother and I had on VHS when we were kids and watched about 10,000 times. A movie that was absolutely terrible, but they kept showing it on cable and, for some reason, you’d always end up watching it. A movie my mom was obsessed with and mentioned all the time.
“But how the hell did you not put Pulp Fiction?” I’ve seen it. It’s fucking great. But it’s not one of my frames. They’re MY frames. Go print your own cards with your own frames and put Pulp Fiction on them.
Freezer cuted in half, looking at Goku after he has transformed into a Super Saiyan, while Goku starts getting cocky and acting like he’s already won the fight.
A Day of Laser Engraving at Lumpalab HQ
The guys at Lumpalab, who are super nice, let me use their machine for a full day. They gave me a quick walkthrough of the software, set up all the engraving parameters for me, and then basically left me alone in their workshop.
“Don’t burn anything,” they said. “Watch your eyes.” 😎
Costs
100 blank 0.20 mm aluminum business cards: €10.58
Laser engraving: €0 — the guys at Lumpalab kindly let me use their machine for a full day.
Production Time
Front — personal info: 20 seconds per card.
20 × 100 = 2,000 seconds → roughly 30 minutes.
Back — photographic engraving: 5 minutes per frame.
(Each engraving takes a slightly different amount of time depending on the image, so let’s use 5 minutes as an average.)
5 × 100 = 500 minutes → roughly 8.5 hours in the workshop to engrave all 100 cards.
Total: approximately 9 hours in the workshop. And that’s assuming all 100 frames are already prepared in the software, fitted to the template, and ready to go. It also doesn’t include all the little bits in between: changing batches, flipping the cards, repositioning things, etc.
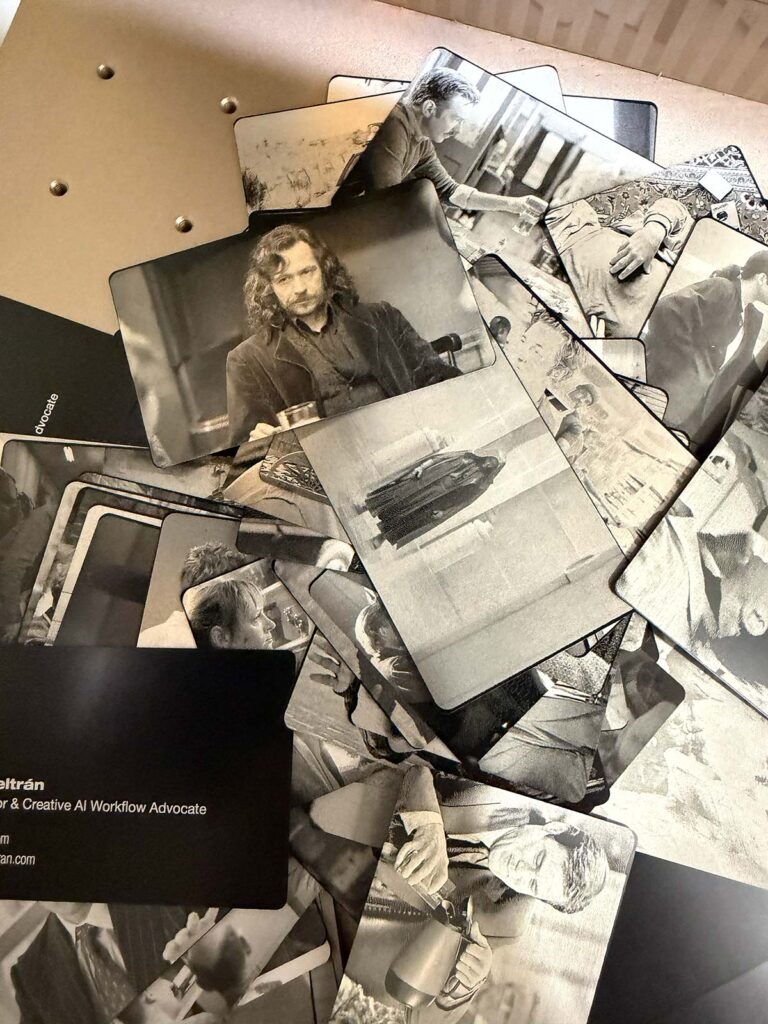
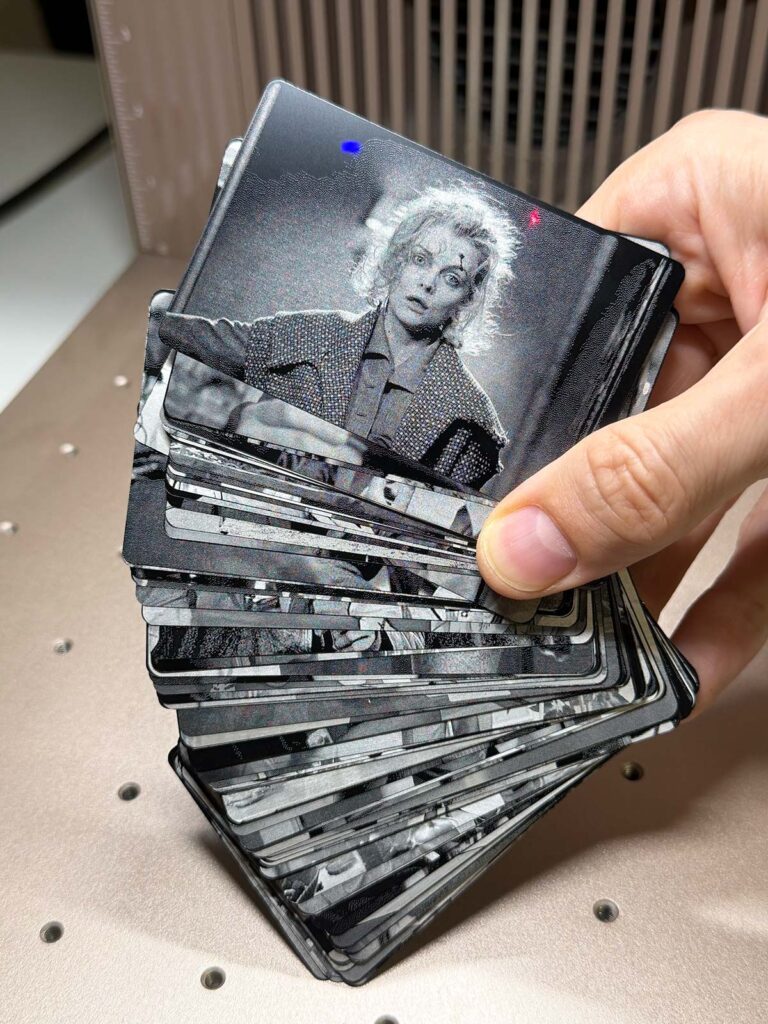
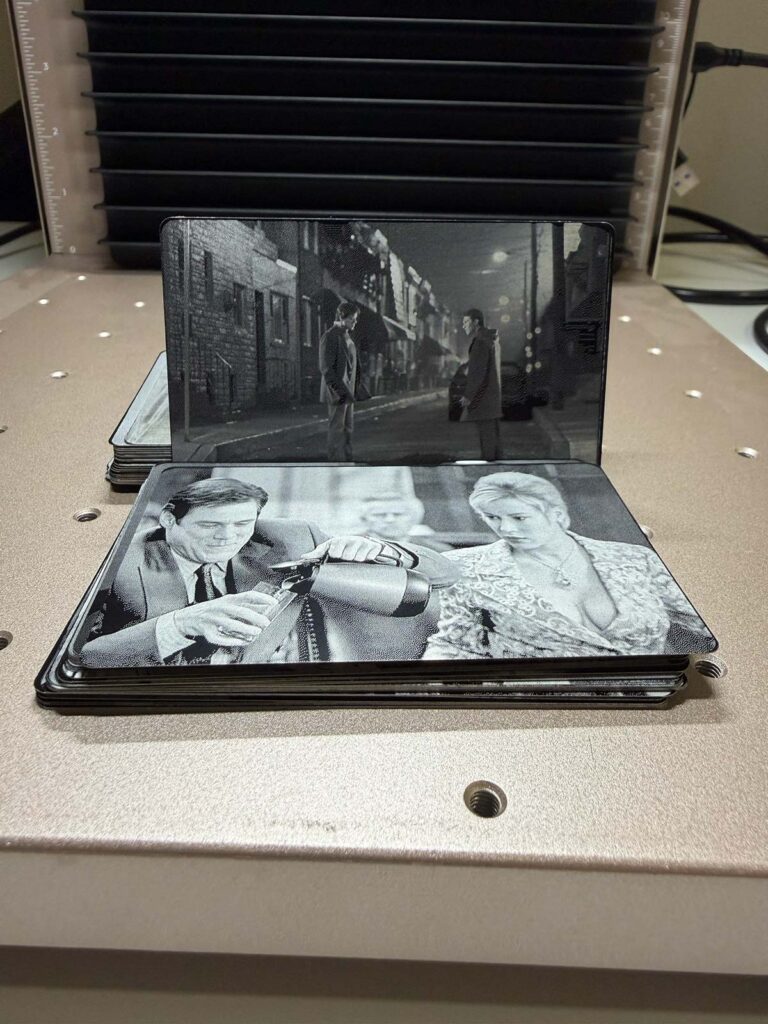
Conclusions
I probably forgot some movie or TV show that should have been in there because it represents me in some way. That’ll have to wait for the second edition. Overall, though, I’m pretty happy with the result. I now have some seriously cool aluminum business cards that are water-resistant (?)
“But why didn’t you put your phone number on the cards?” Because if you call me, there’s a very good chance I won’t pick up. Send me an email instead. I’ll reply 100% within a reasonable timeframe.
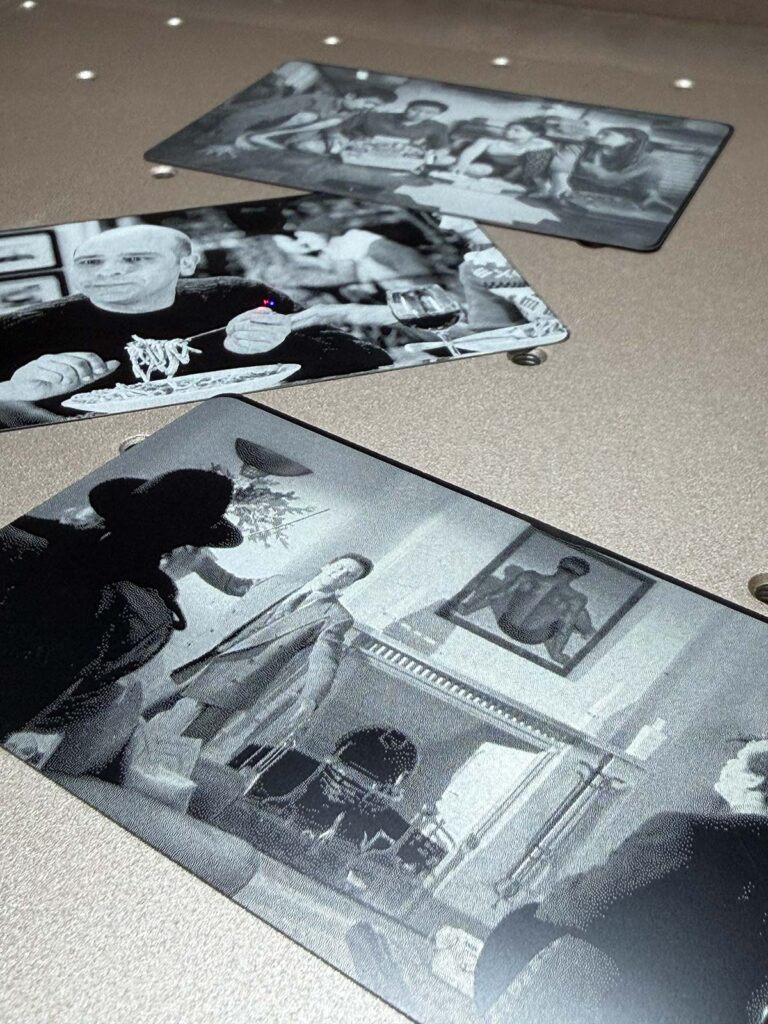
Now, when it comes to the actual production, some frames turned out better than others. And I’d say that comes down to two variables. One of them has less of an impact: the choice of the image. The other one is absolutely crucial: the position within the engraving area.

The machine is insanely precise and the quality is fucking amazing. That’s not even up for debate. You can engrave your name on a grain of rice and all sorts of crazy shit. Now, the laser shoots out from a central position. It’s not like the head moves around, always hitting the surface perfectly straight. And that created a problem with the cards positioned closer to the edges.
The engraving area is 20 × 20 cm, and I was doing batches of six cards at a time. The cards positioned in the center turned out absolutely amazing. On the right, you can see Pablo Sandoval and Oswald Cobblepot as examples. The two frames on the left, however, were engraved in positions closer to the edges of the engraving area, where the laser hits the surface at a slight angle.
That caused the frames to come out almost burned. So we ended up with a barely recognizable Mike Ehrmantraut. We can still see Rafiki, but poor Simba is almost completely invisible. 😕

Next time, I’ll probably do batches of two cards at a time so they all come out perfect. It might take a lot longer between batches, though, so that’s something I’ll have to evaluate. Either way, it’ll probably be a long while before I manage to hand out all 100 cards.
Maybe a zombie apocalypse will get here first.